One of the streaming services I use called NowTV recently launched an Irish service alongside their UK service which I was using. The Irish service costs _double_ the cost in UK. They have also begun geoblocking all Irish users and also users of VPN Services like ExpressVPN and PrivateInternetAccess from using the UK service.
To get around this I decided to set up my own VPN server on AWS in their London datacenter to get around the geoblocking.
The easiest way I have found to set up a VPN server is to use PiVPN (http://www.pivpn.io/) which was designed for use on Raspberry Pi but can be installed on any Debian based machine.
There has been a few recent guides on how to install PiVPN but this one focusses on installing on AWS.
A prerequisite for this guide is that you have an AWS account. If this is your first time using AWS then you can avail of their free tier for the first year which means you could have the use of a reliable VPN server free for a whole year. You will also need an SSH keypair.
The steps are as follows:
- Start up an instance of Ubuntu Server on AWS in the London region
- Install PiVPN
- Download VPN configuration files for use locally
1. Start up an instance of Ubuntu Server on AWS in the London region
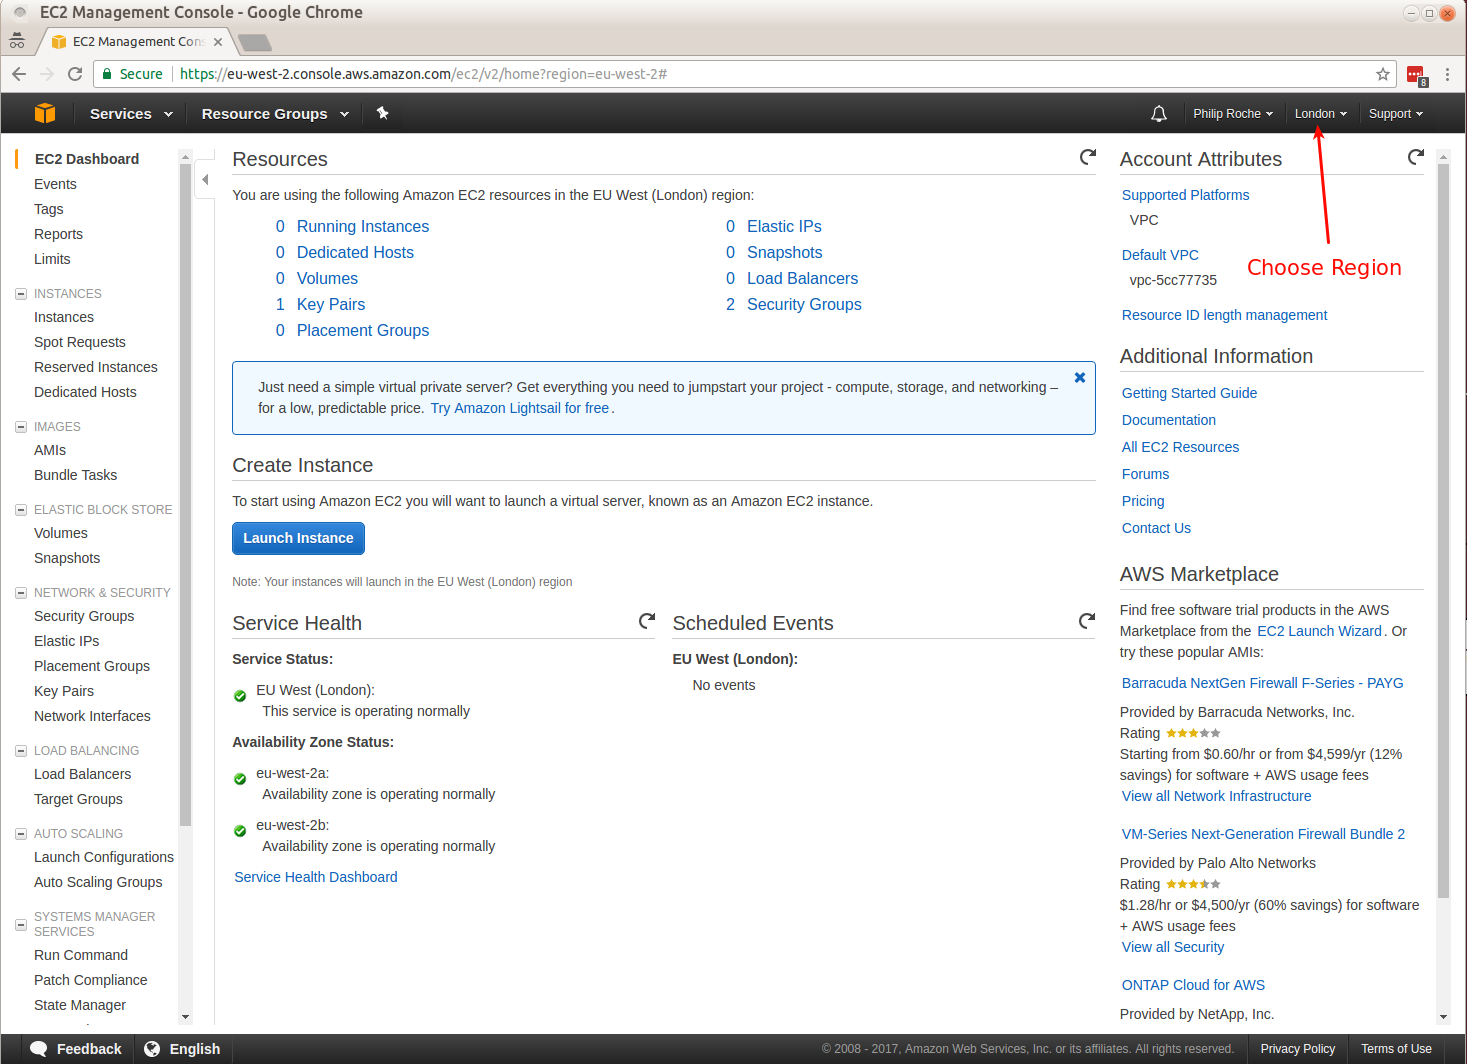
Log in to your AWS account and select the London region, also referred to as eu-west-1.
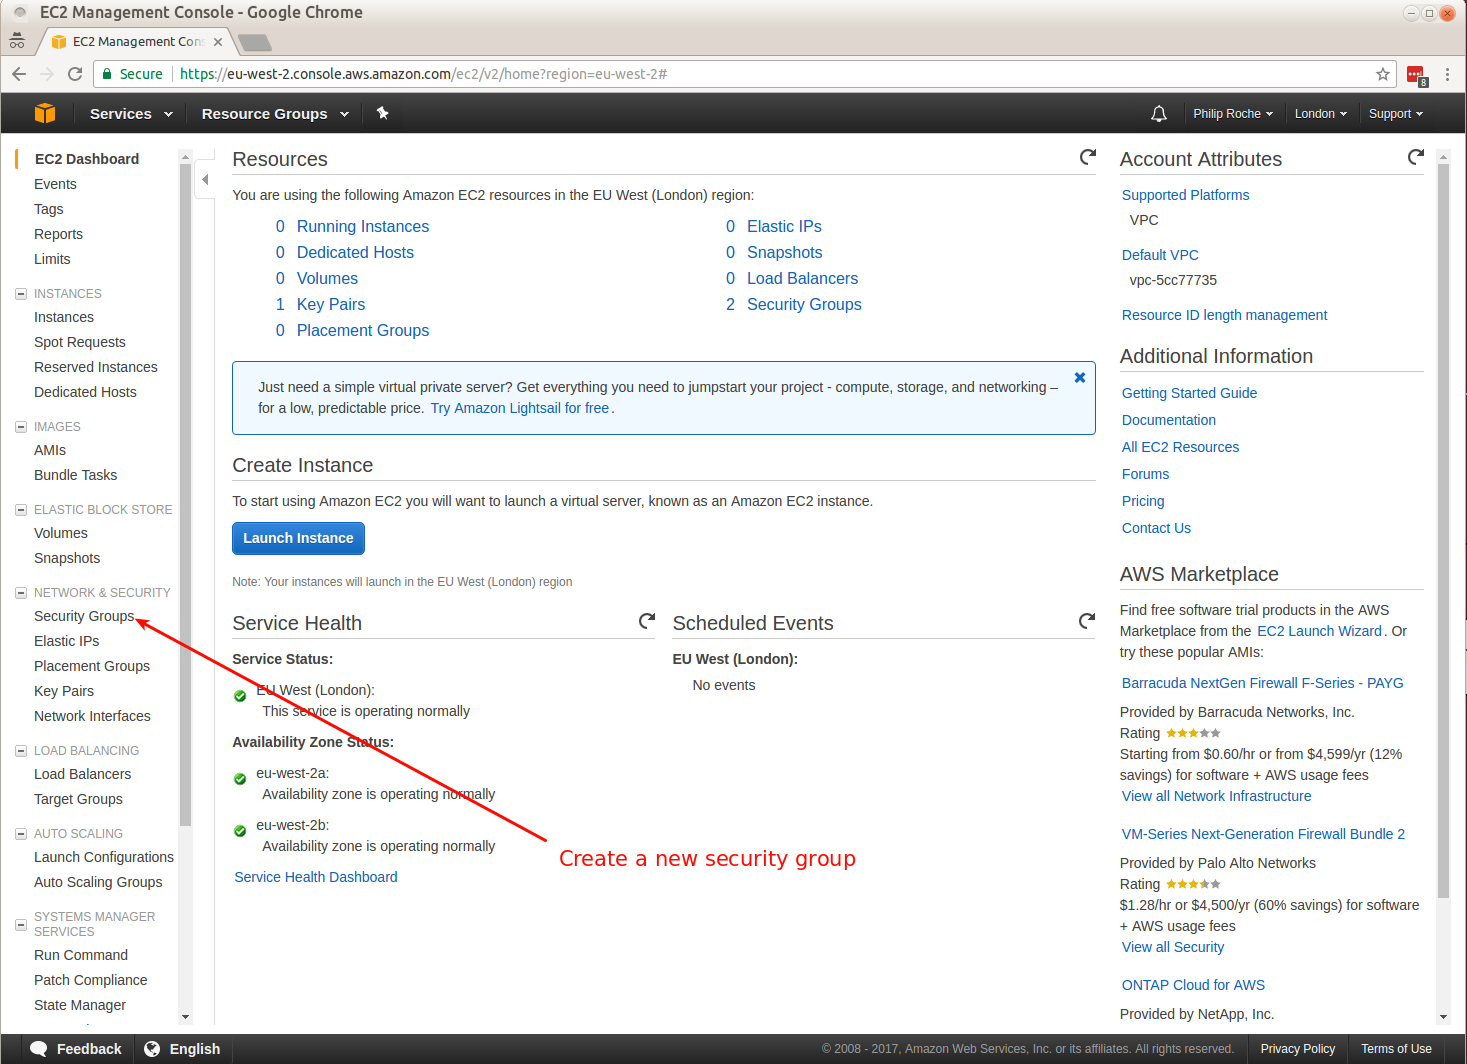
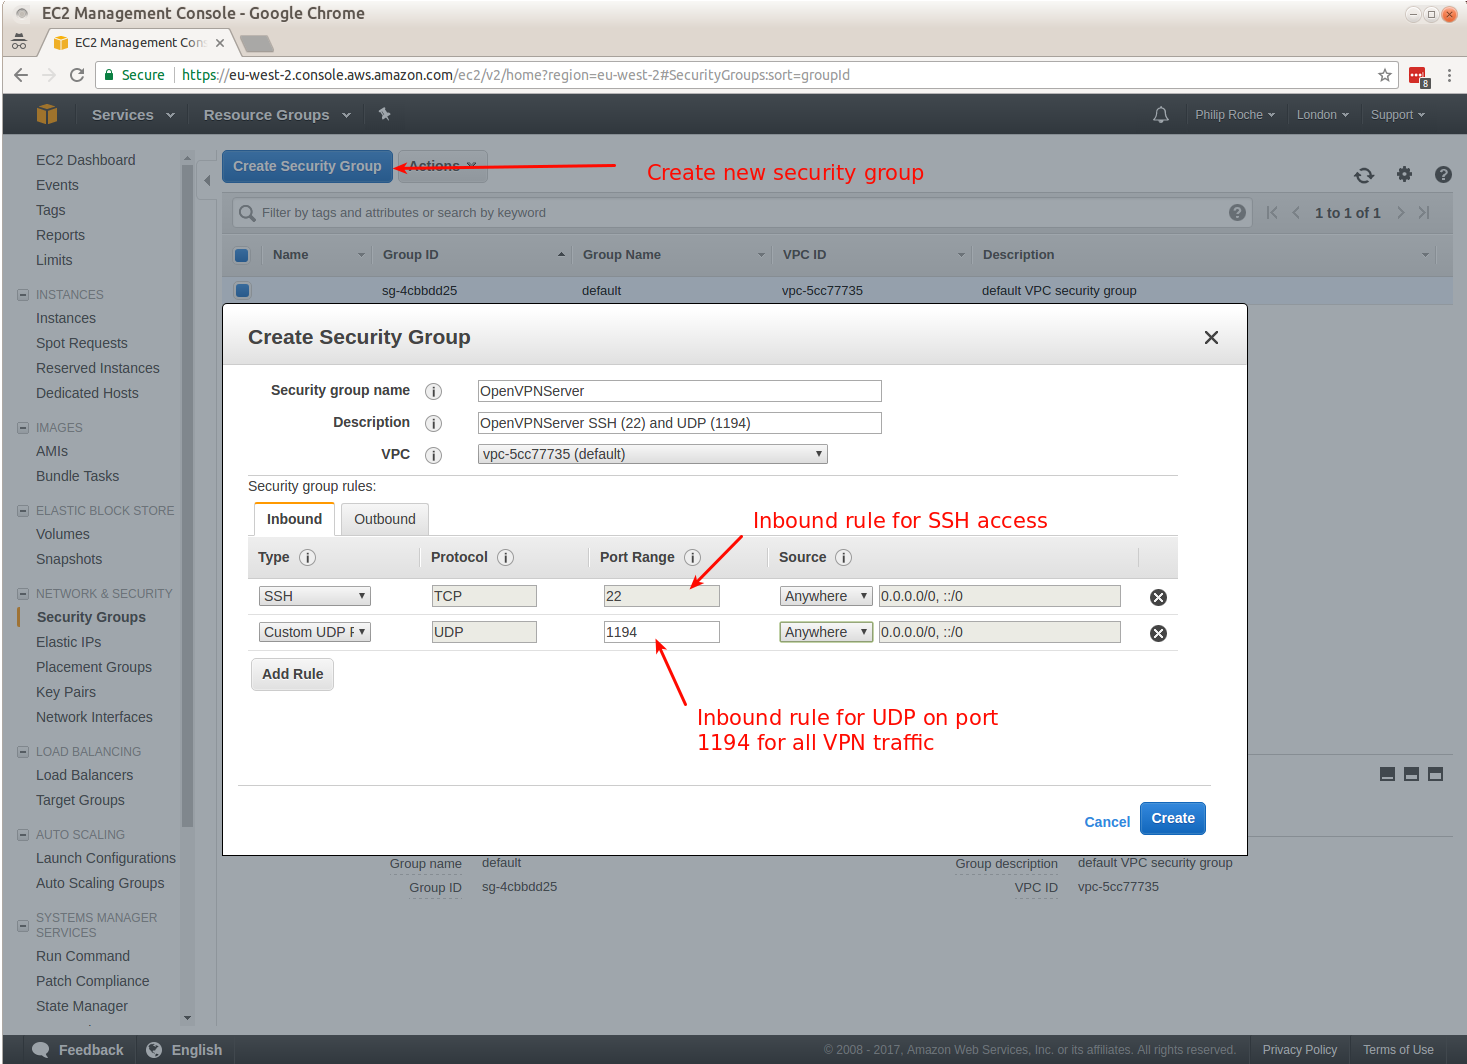
Create a new security group for use with your VPN server.
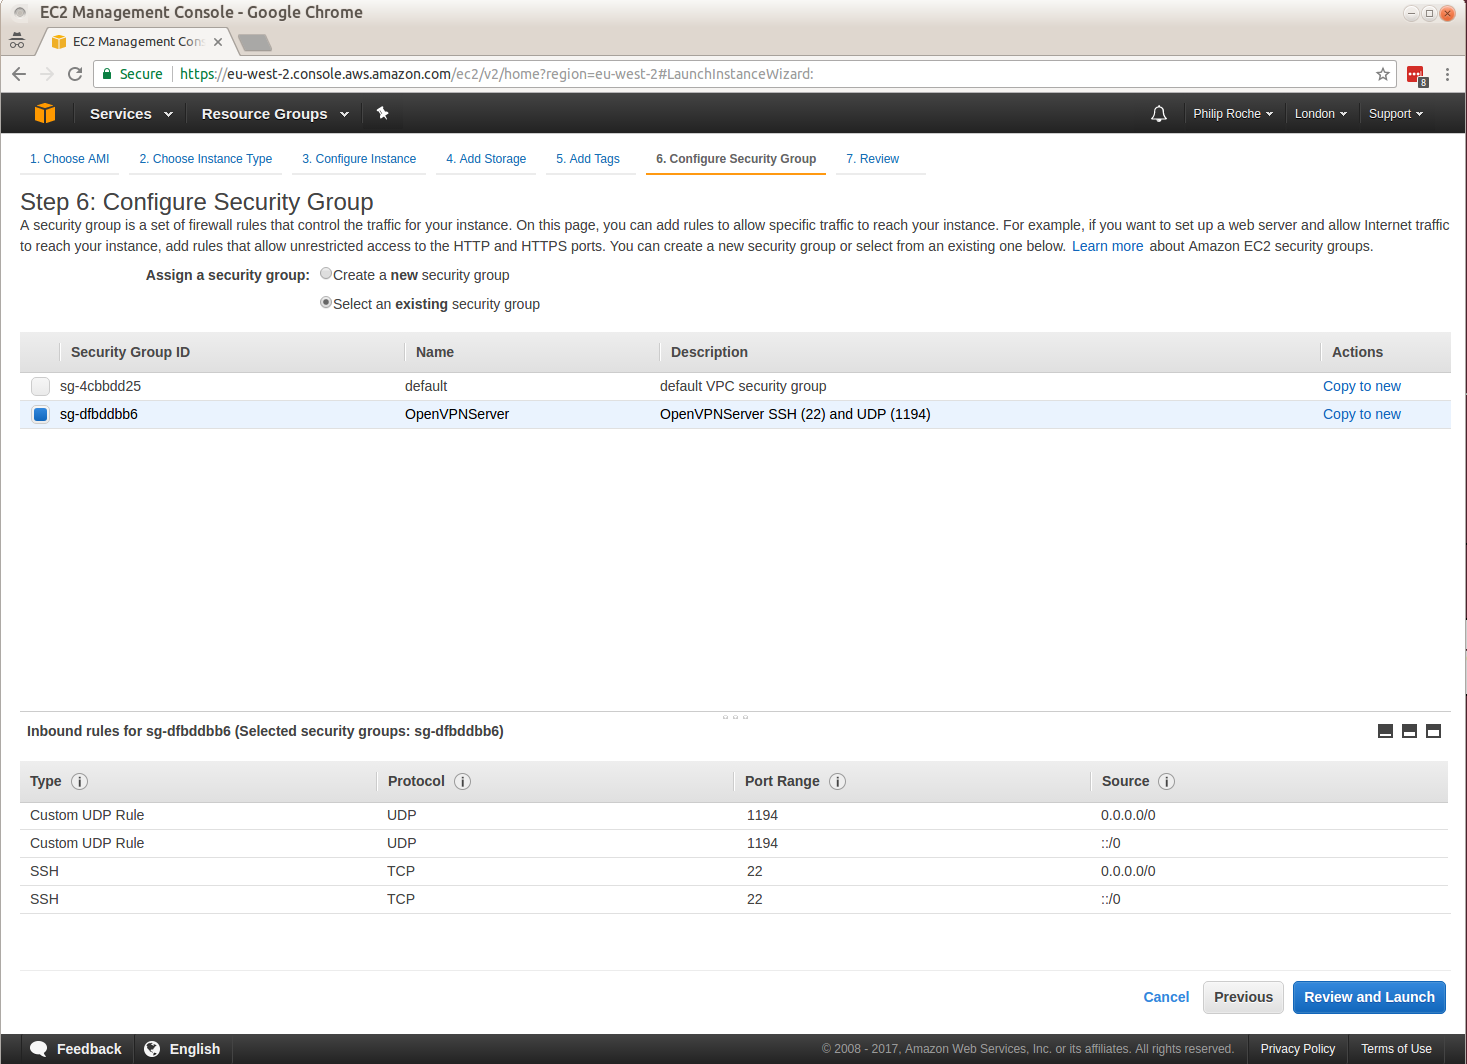
This new group sets up the firewall rules for our server and will allow only access to port 22 for SSH traffic and UDP port 1194 for all VPN traffic.
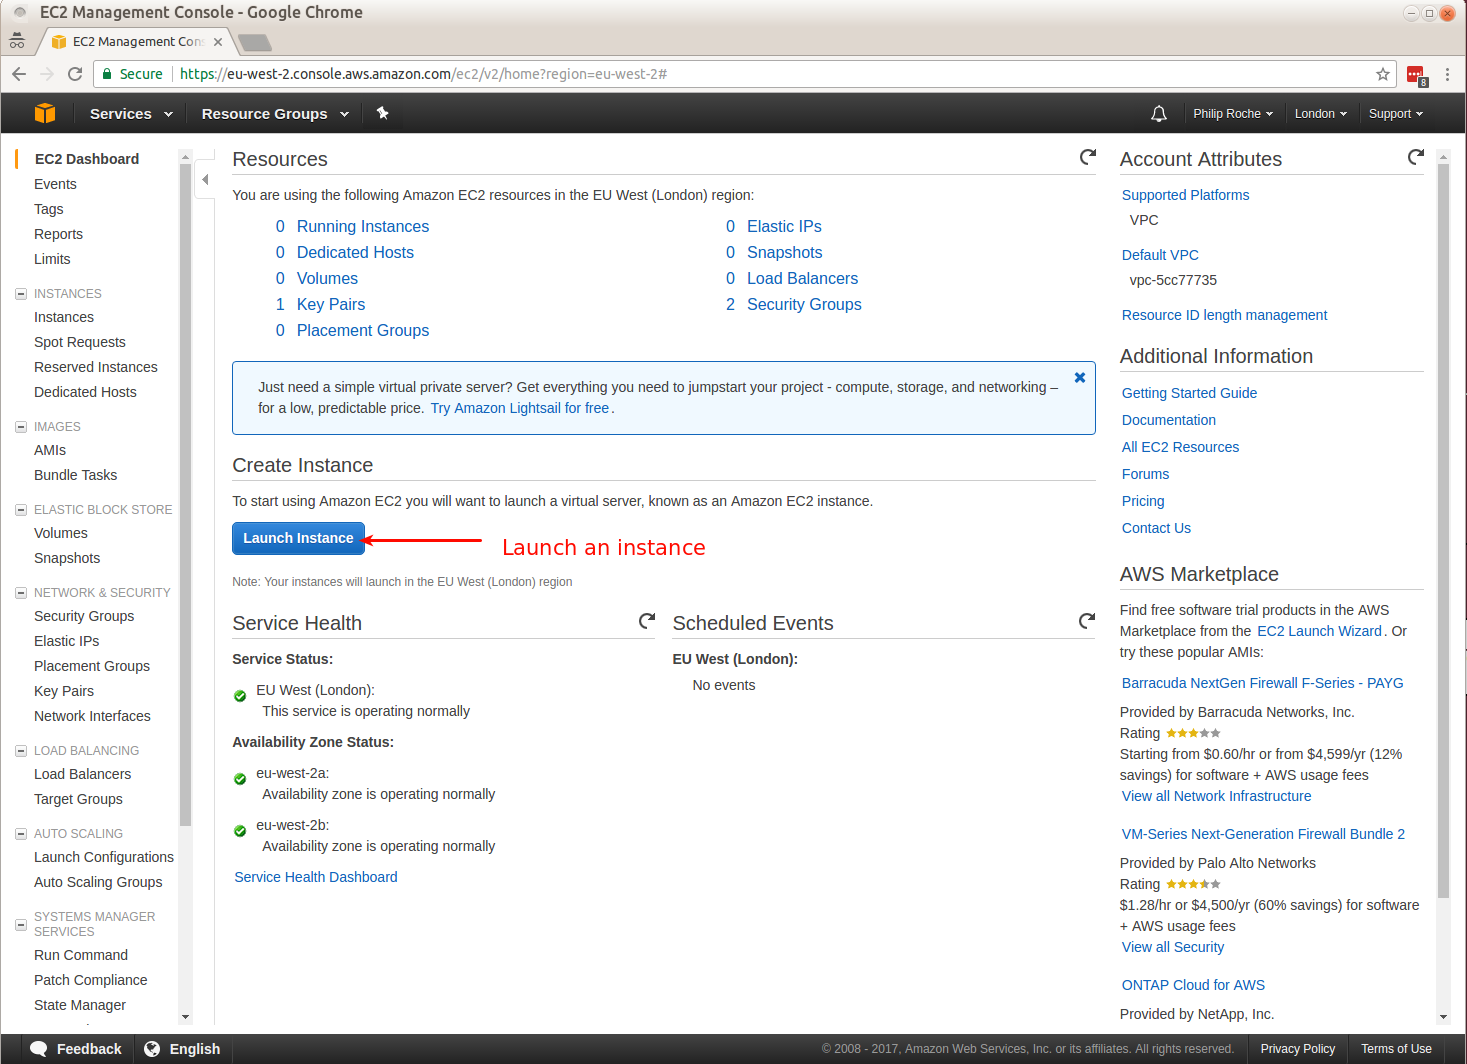
Launch a server instance
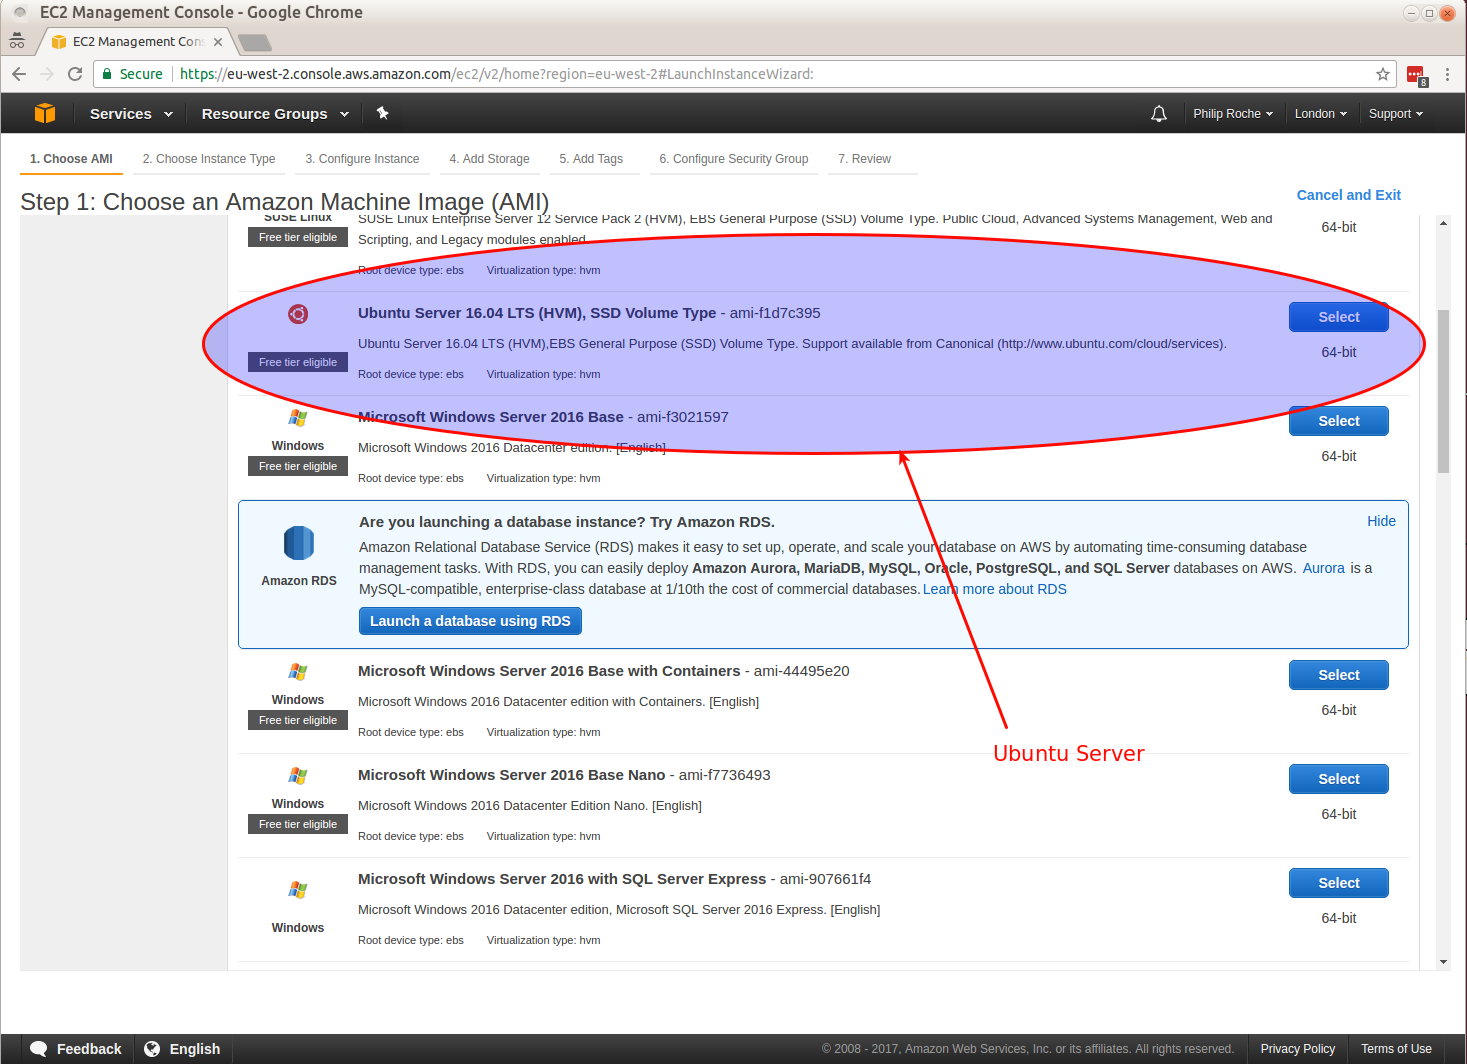
We will choose Ubuntu Server 16.04 as it is a Debian based distro so PiVPN will install.
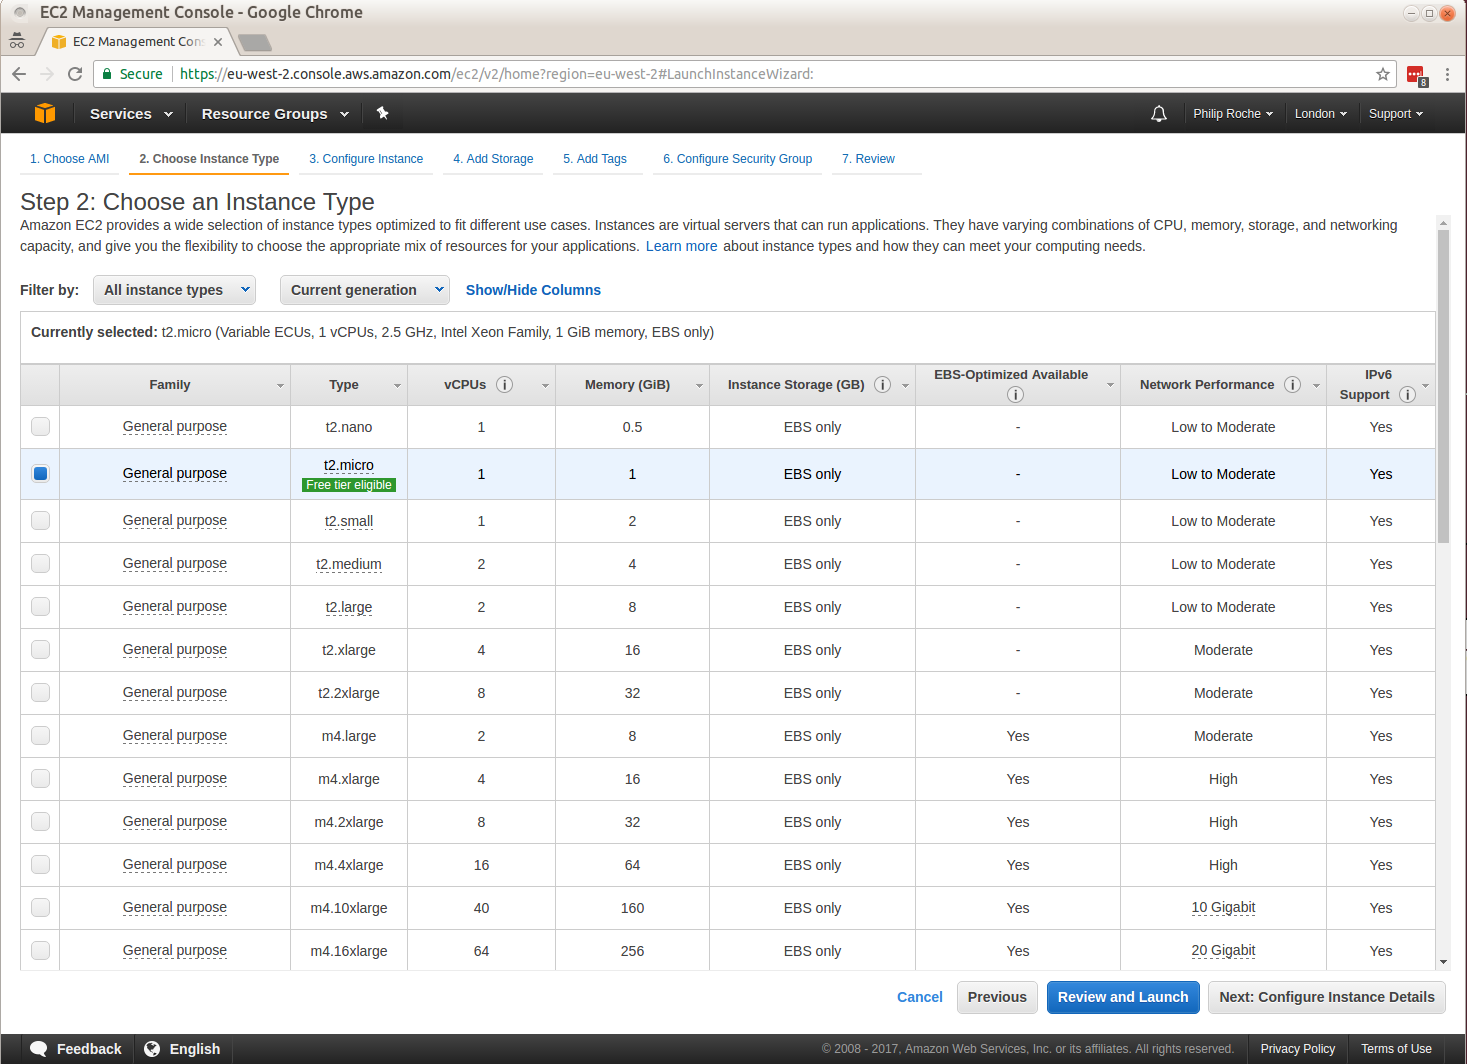
Choose the t2.micro instance type. This is the instance type that is free tier elligible.
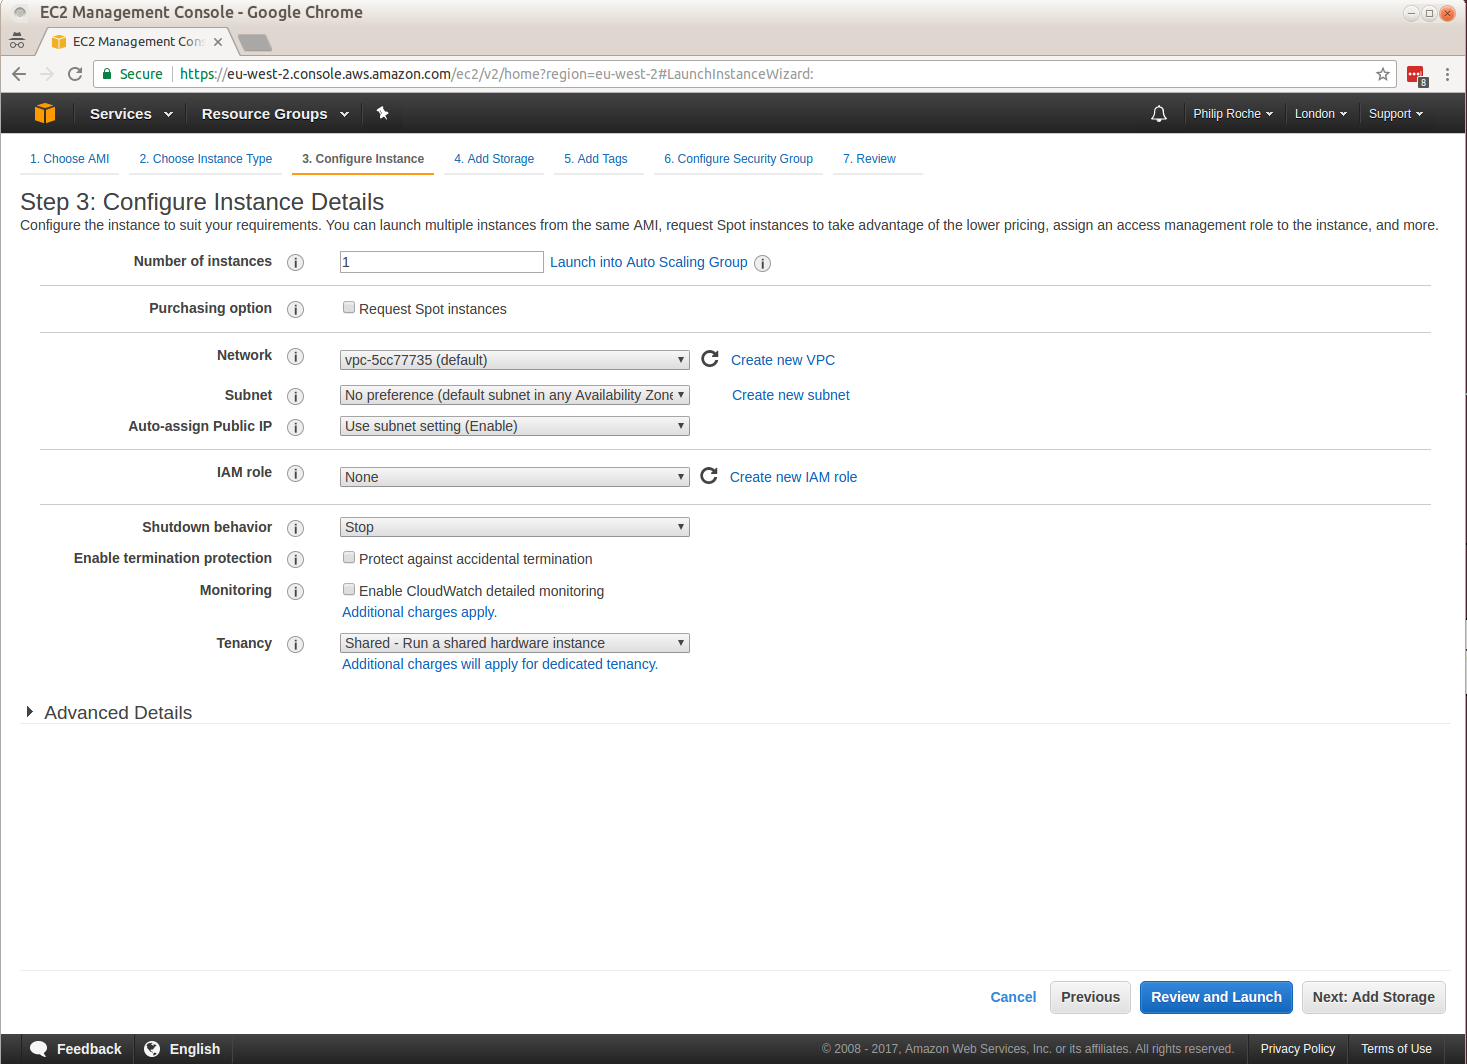
Leave instance details default
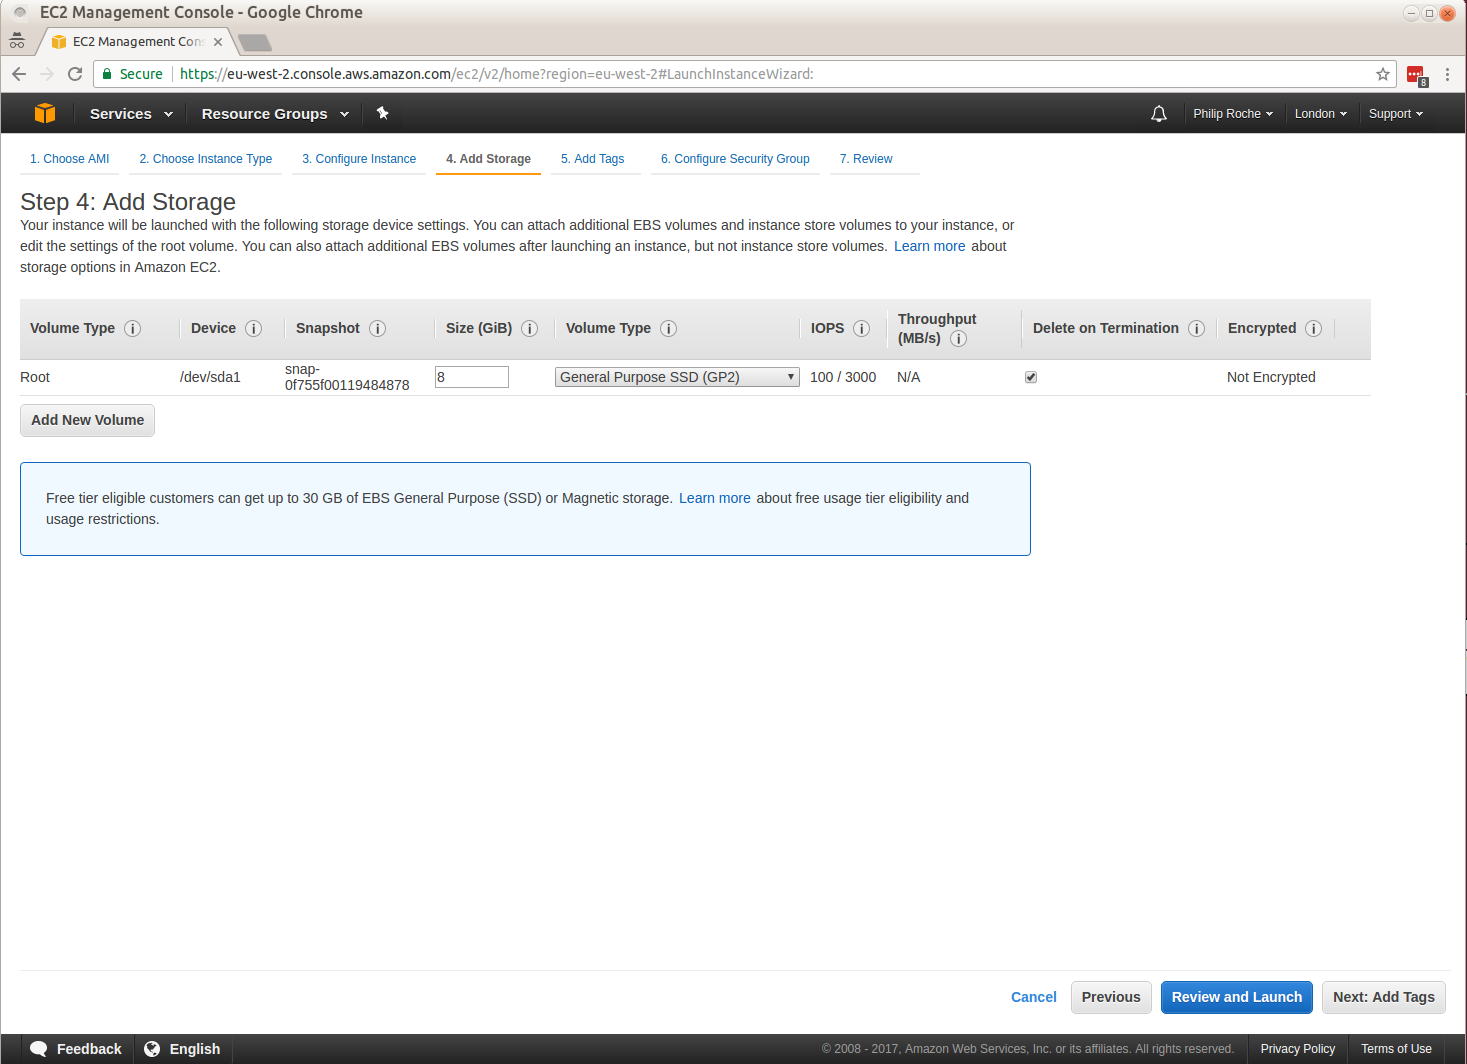
Leave storage as the default 8GB SSD
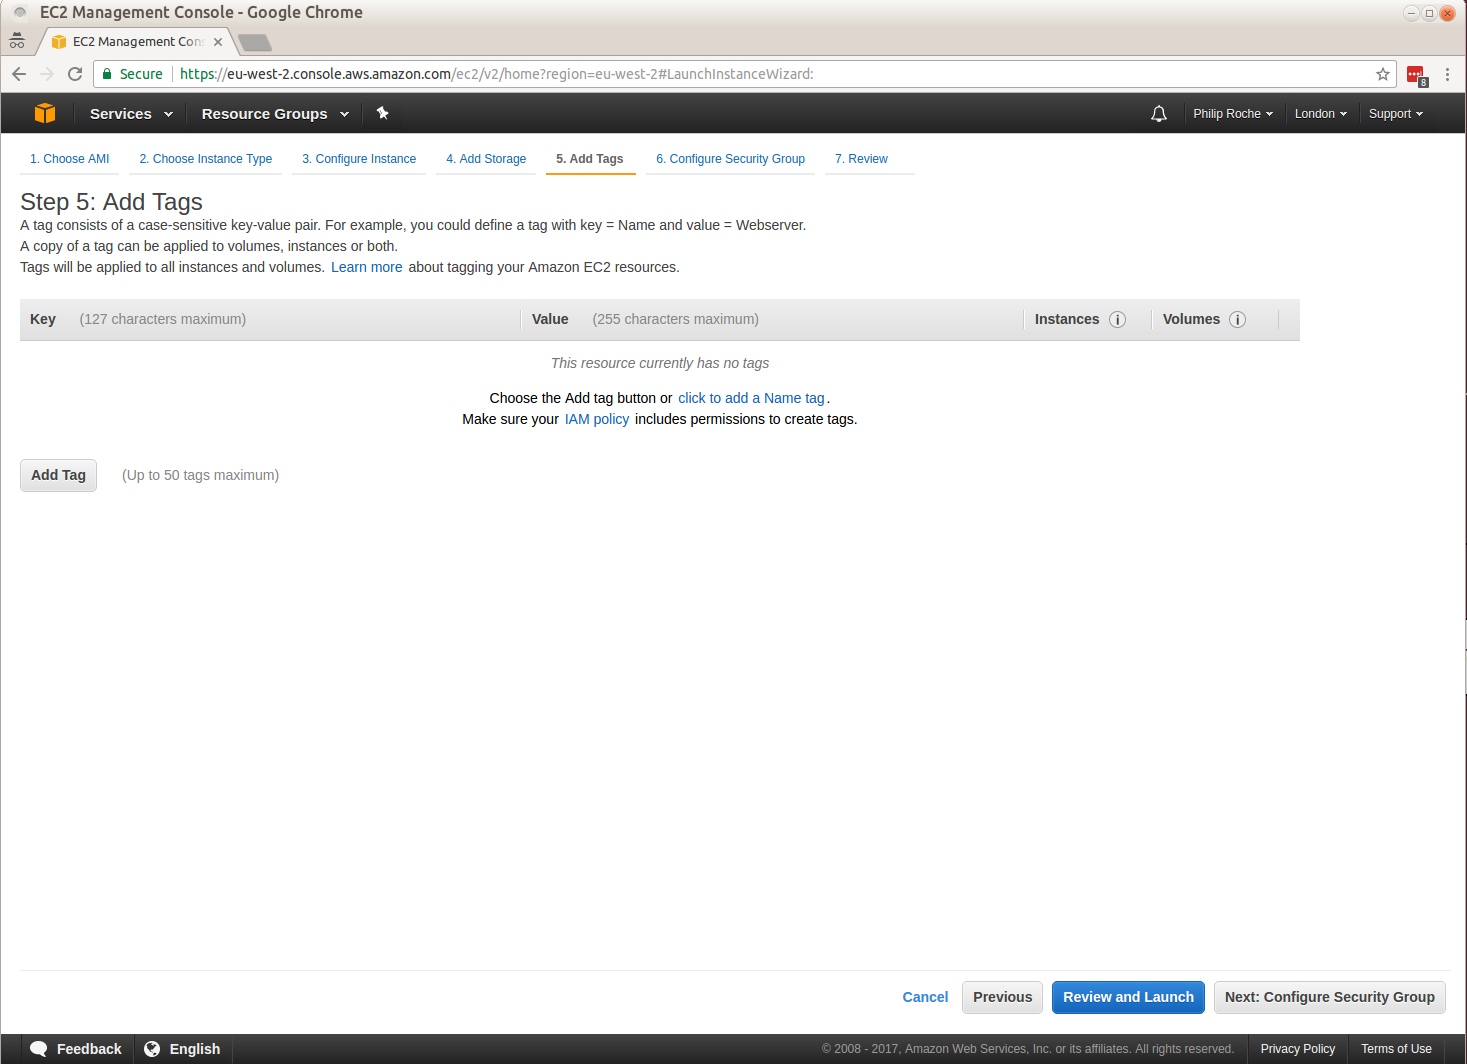
No need to add any tags
Choose the security group we previously created.
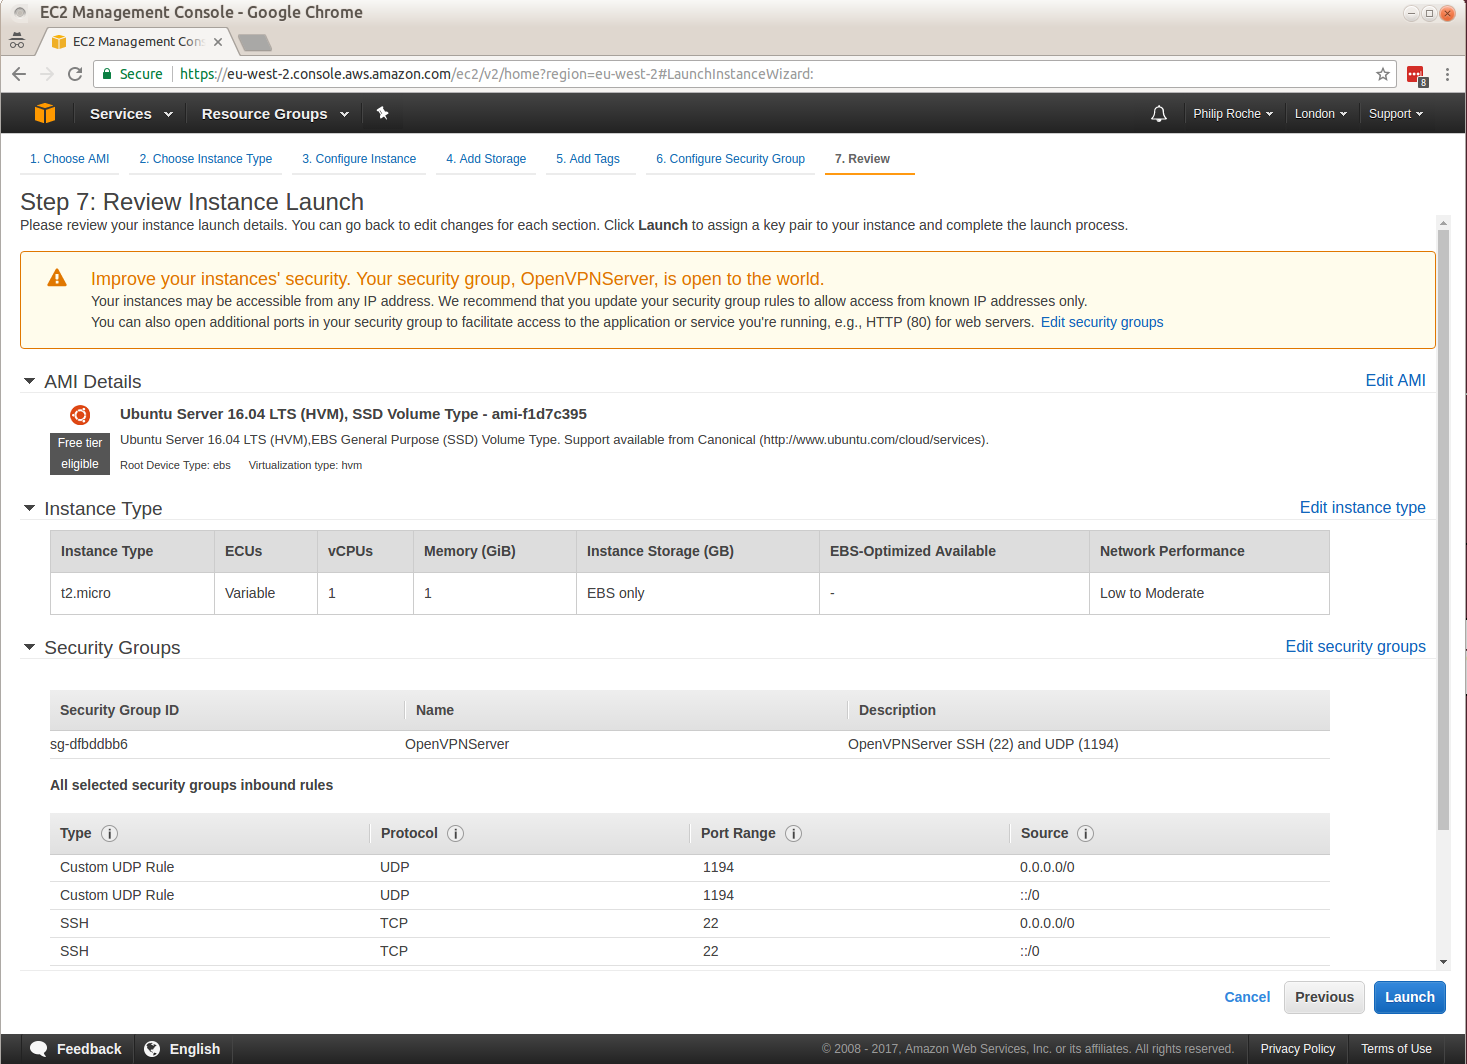
Review settings – nothing to change here.
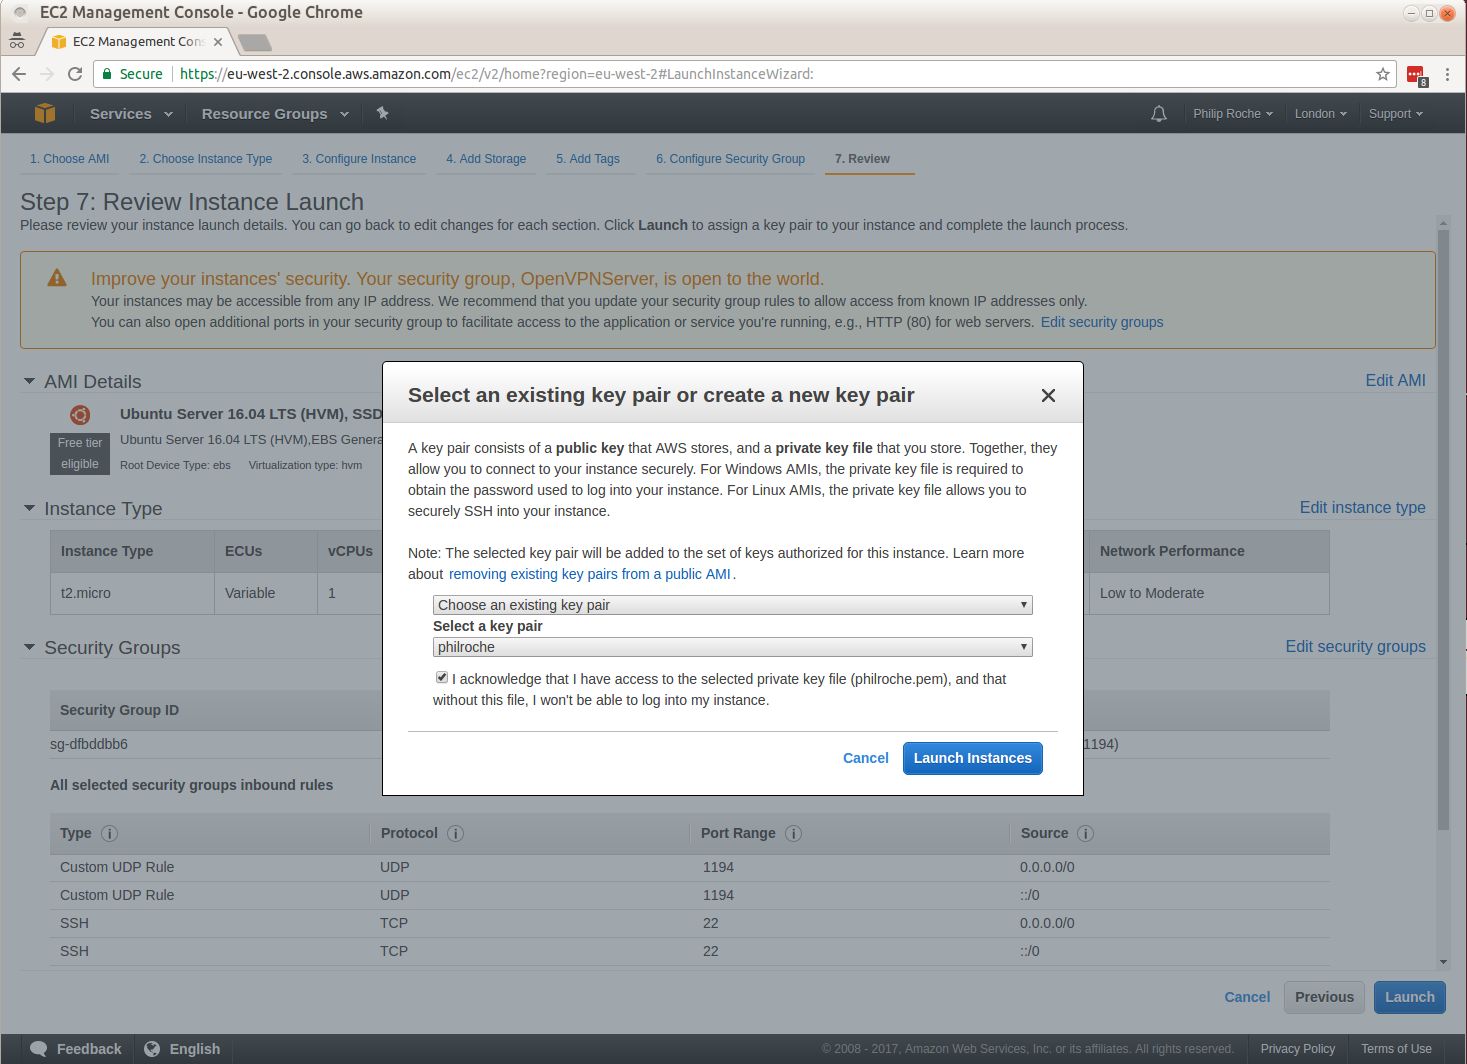
Click Launch and specify either a new SSH keypair or an existing SSH key pair. I have chosen an existing pair which is called “philroche”.
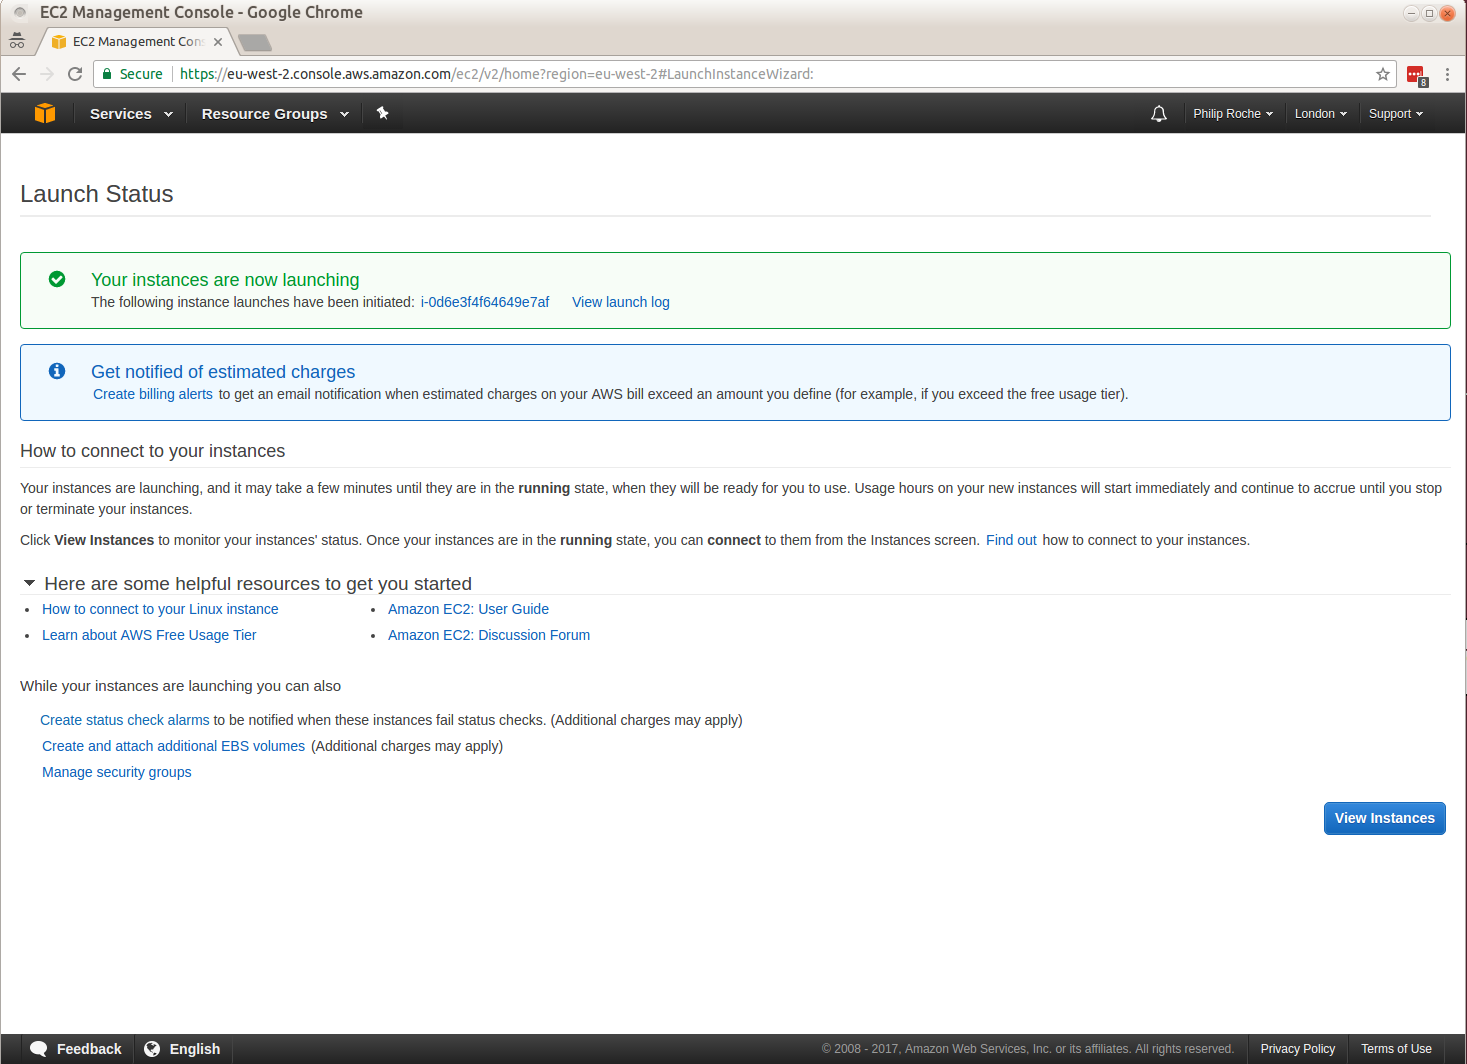
Check the checkbox abount key access and click Launch Instances. Your instance will now launch.
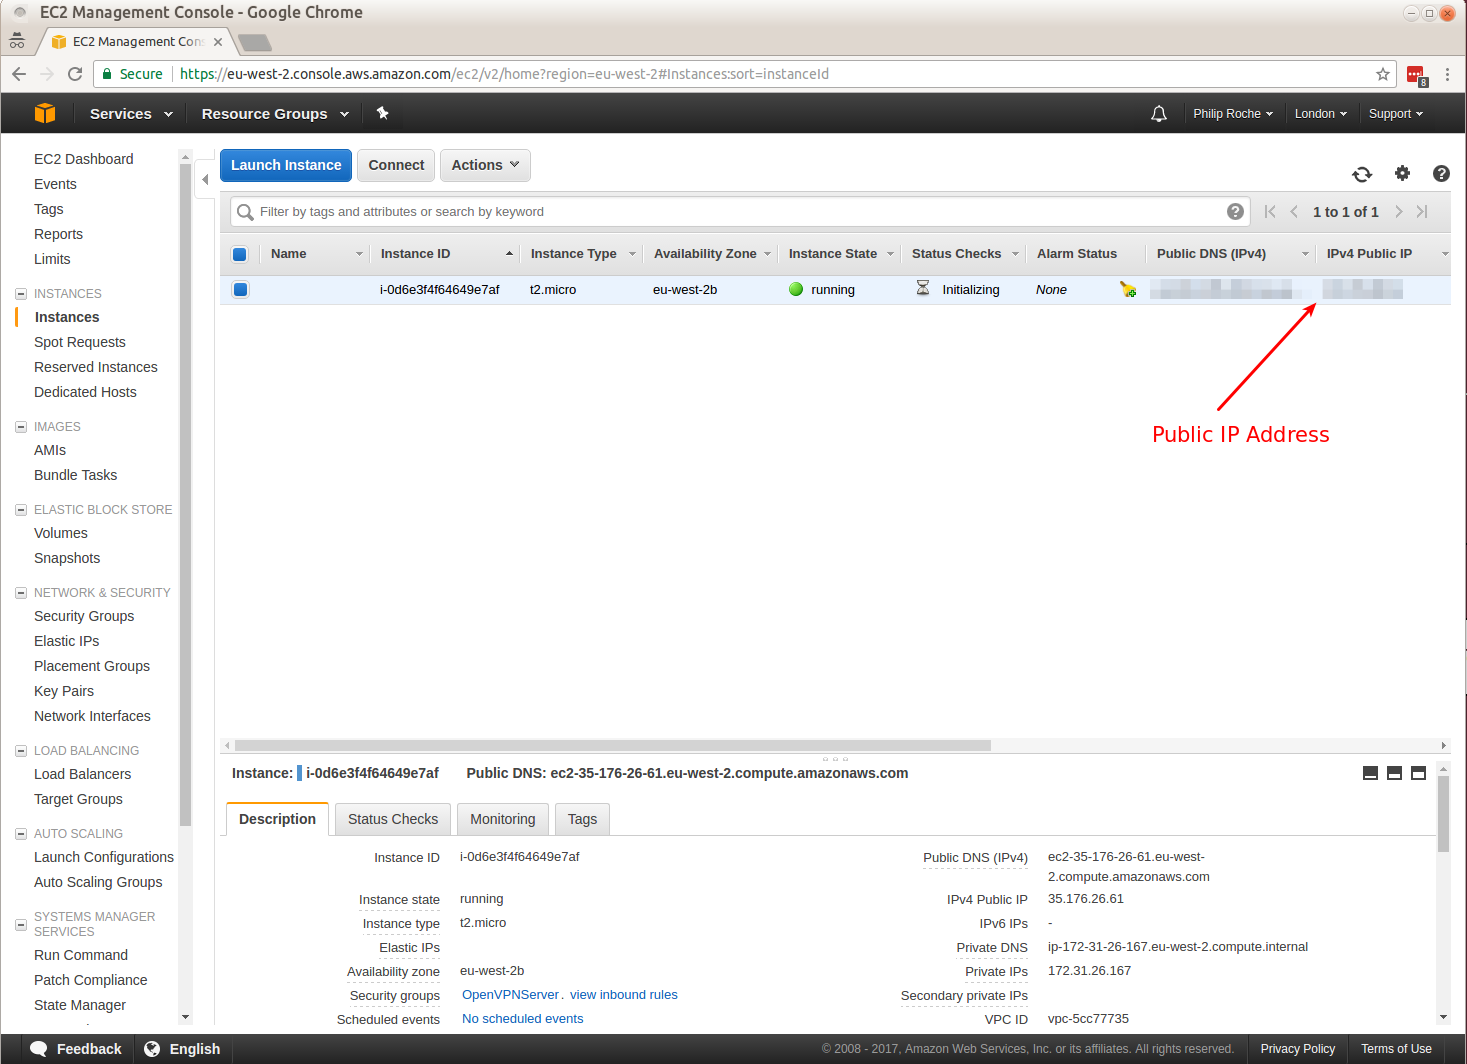
Click View Instances and once state has changed to running note the IPv4 Public IP. You now have an instance on Ubuntu Server running on AWS in their London datacentre.
2. Install PiVPN
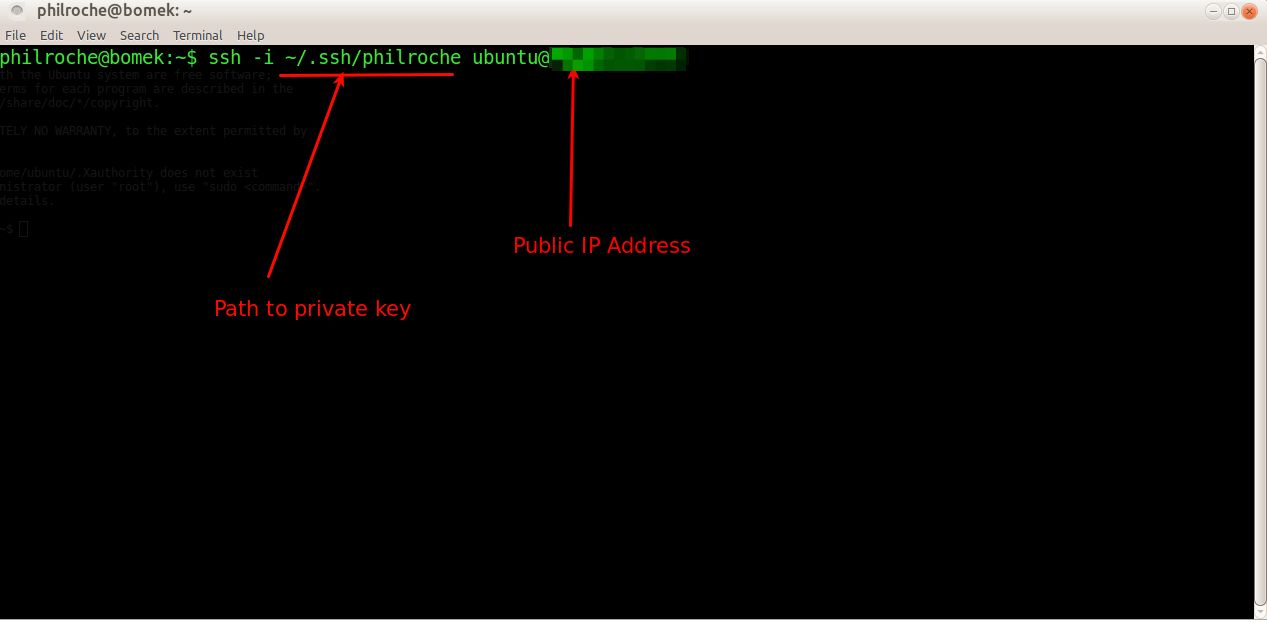
SSH in to your new server using the private key from the pair specified when launching the server.
ssh -i ~/.ssh/philroche ubuntu@%IPV4IPAddress%
substituting %IPV4IPAddress% for the IP address of your server
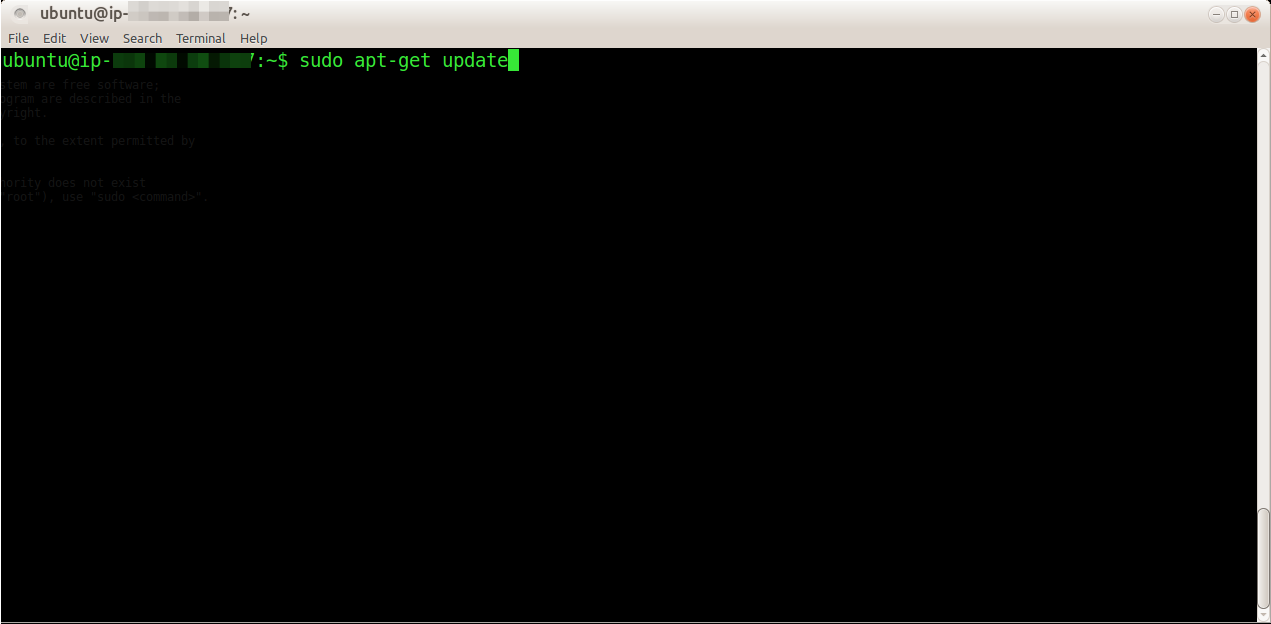
Once logged in update the packages on the server.
sudo apt-get update
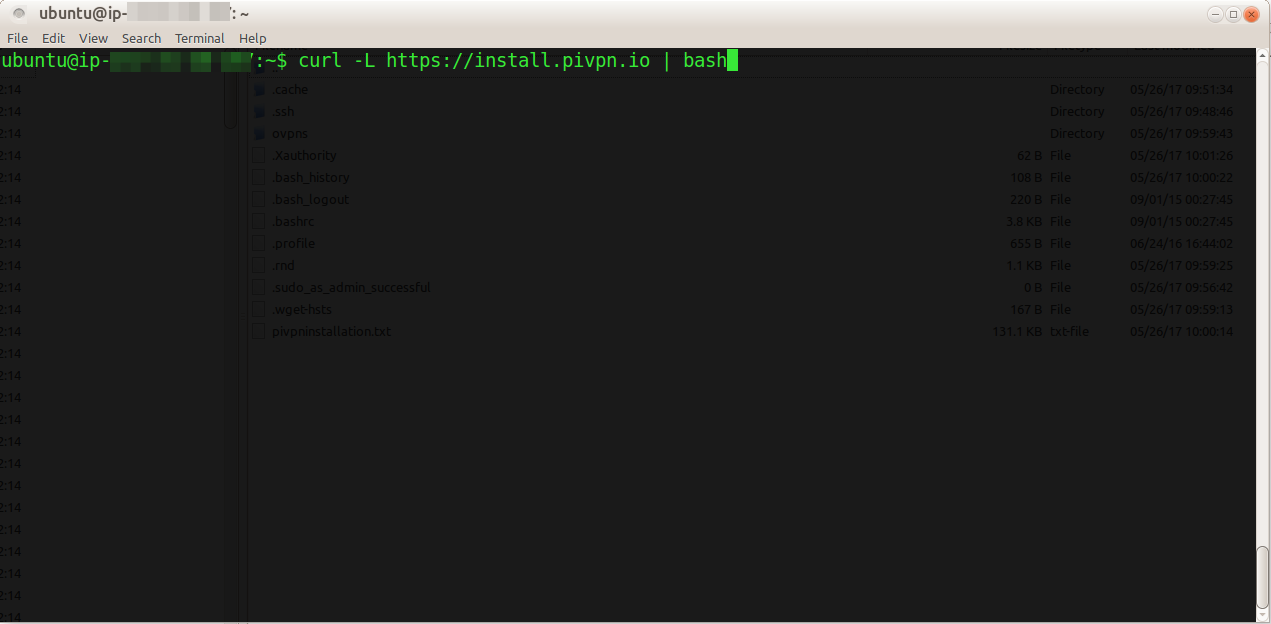
Start the PiVPN installer.
curl -L https://install.pivpn.io | bash
For more detail on this, see http://www.pivpn.io/#tech
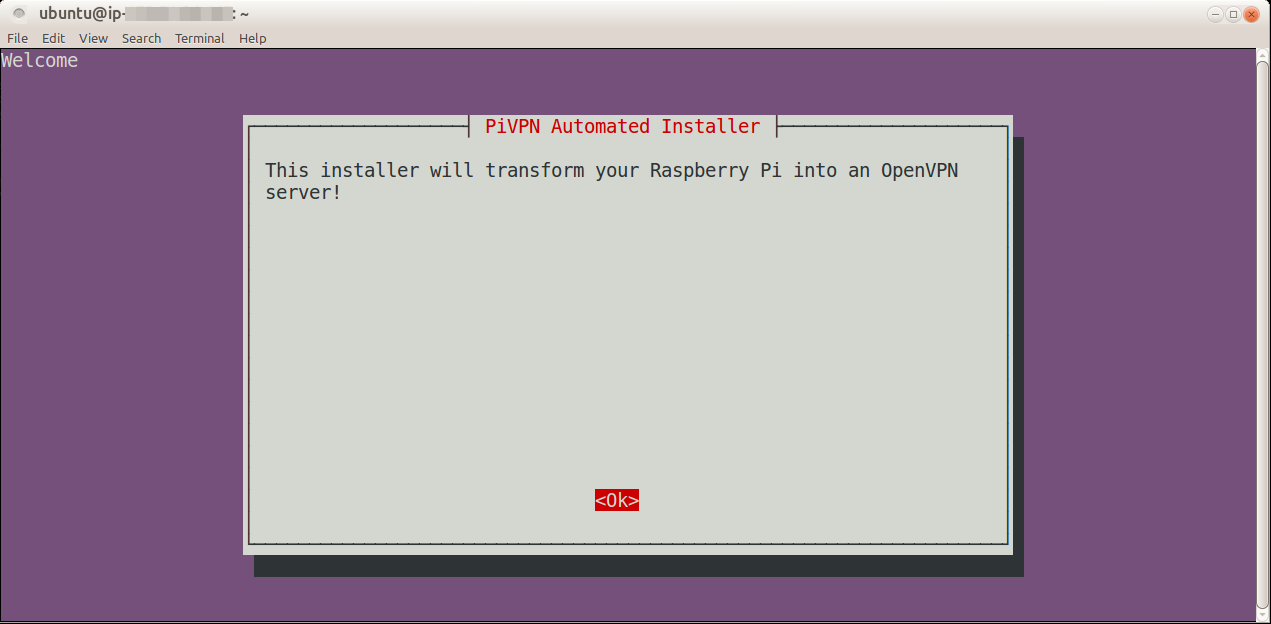
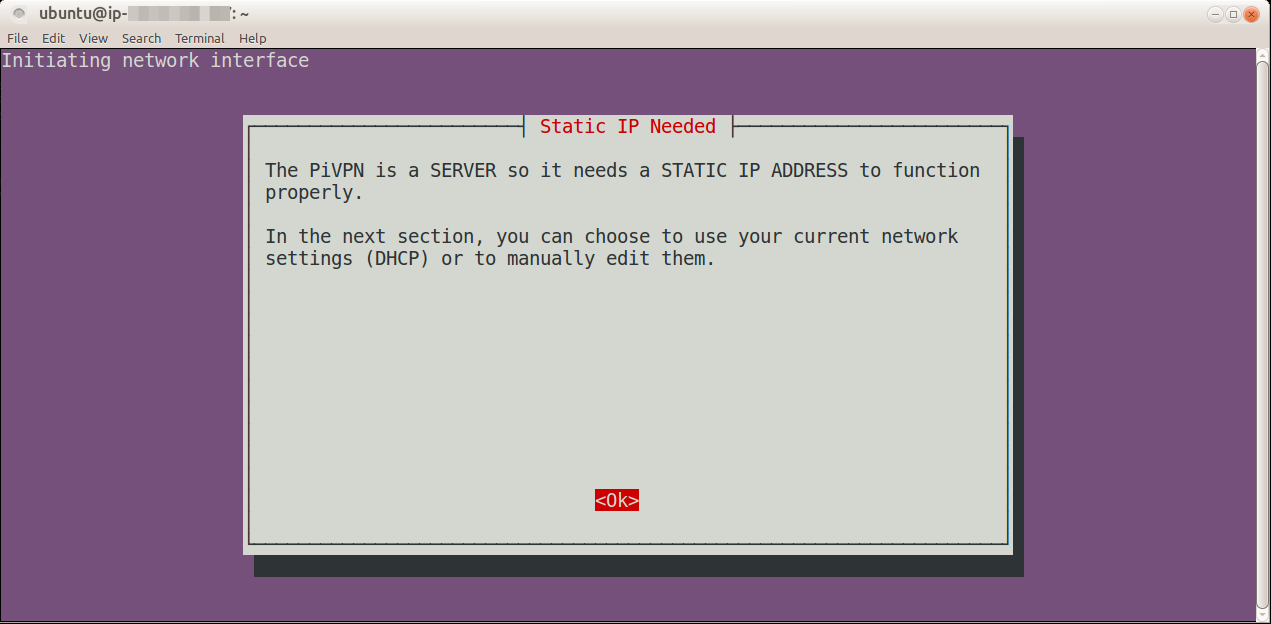
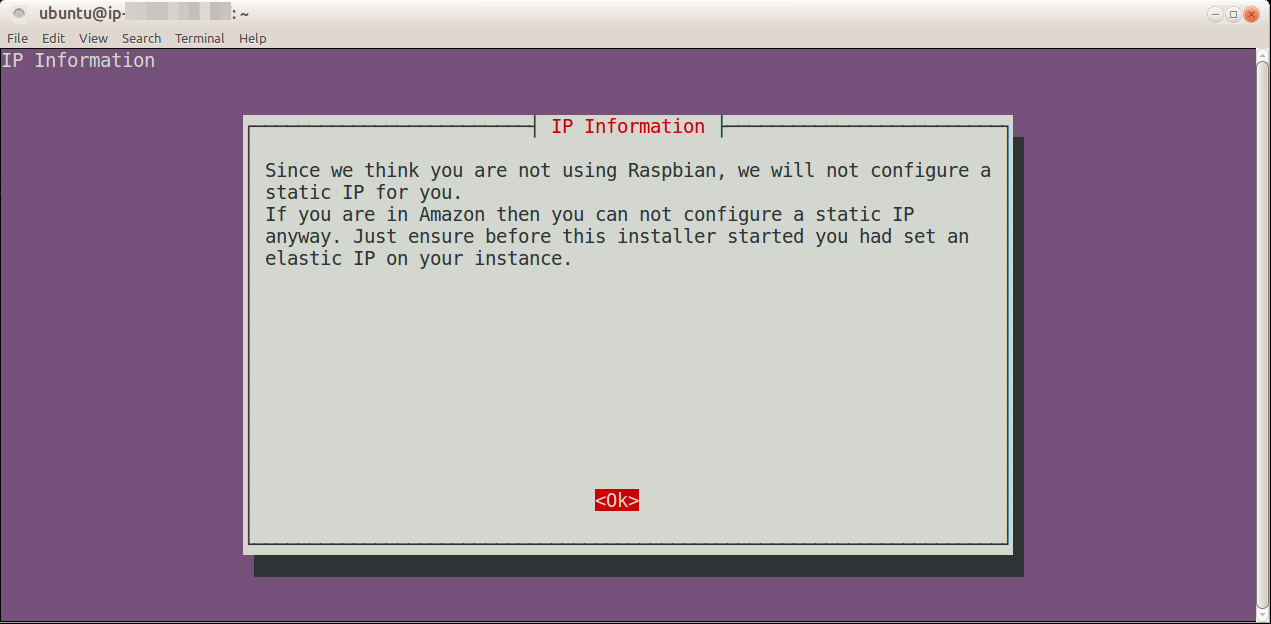
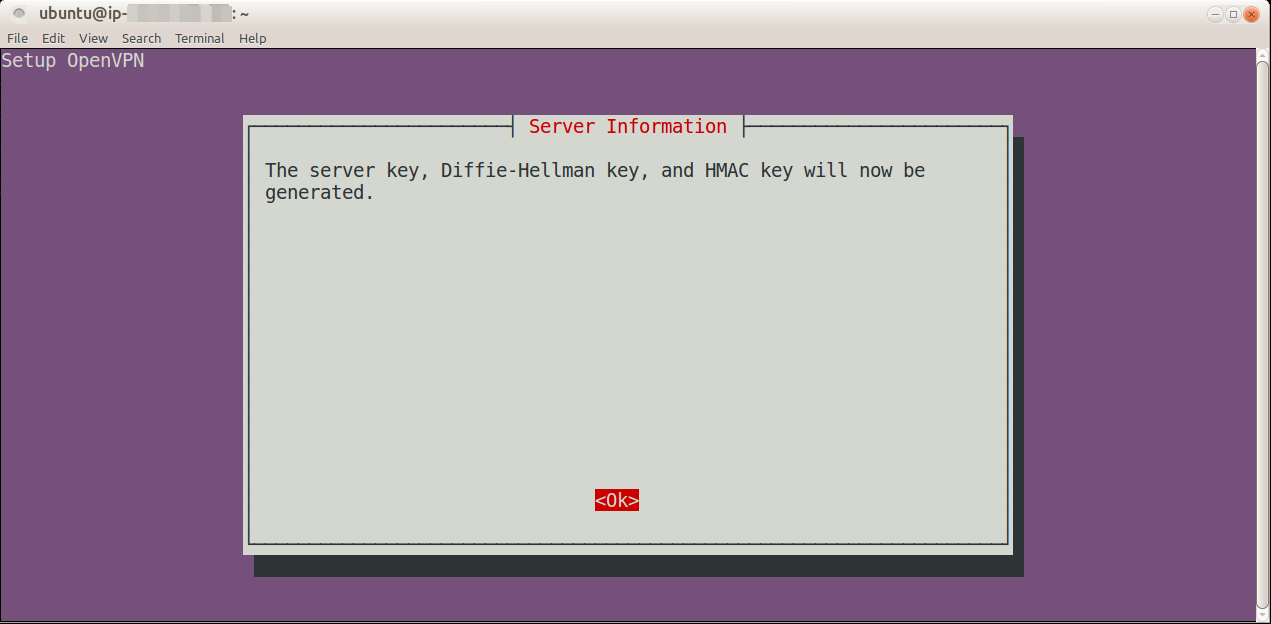
You are then guided through the process of installing all the required software and configuring the VPN server:
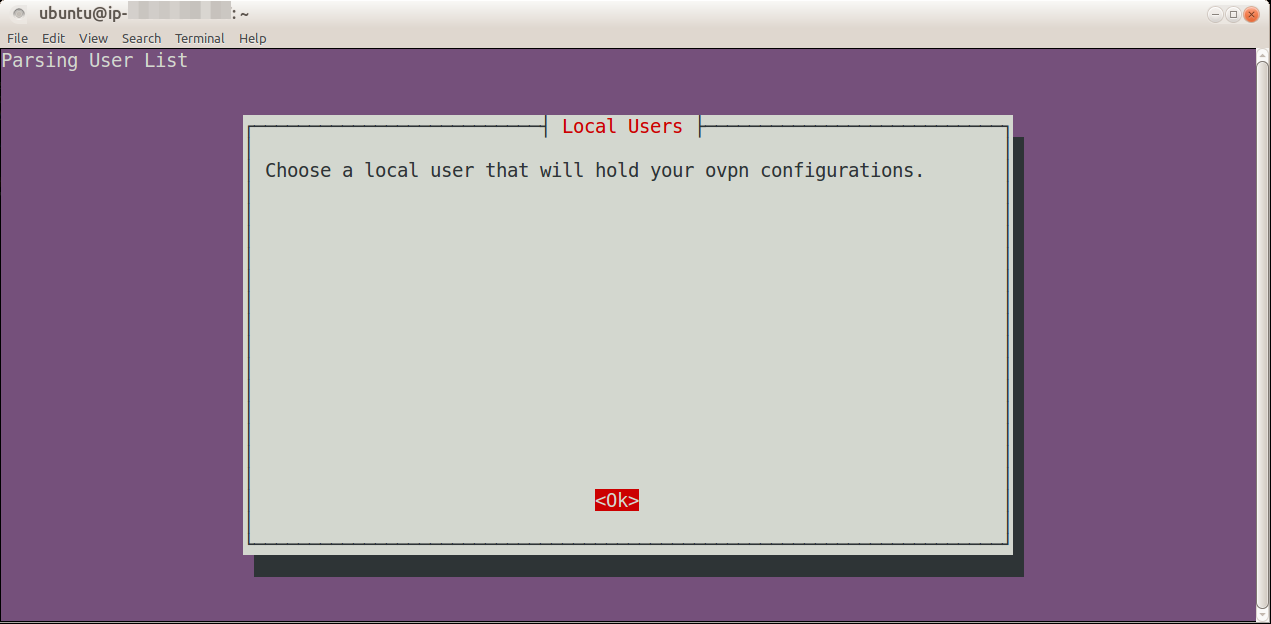
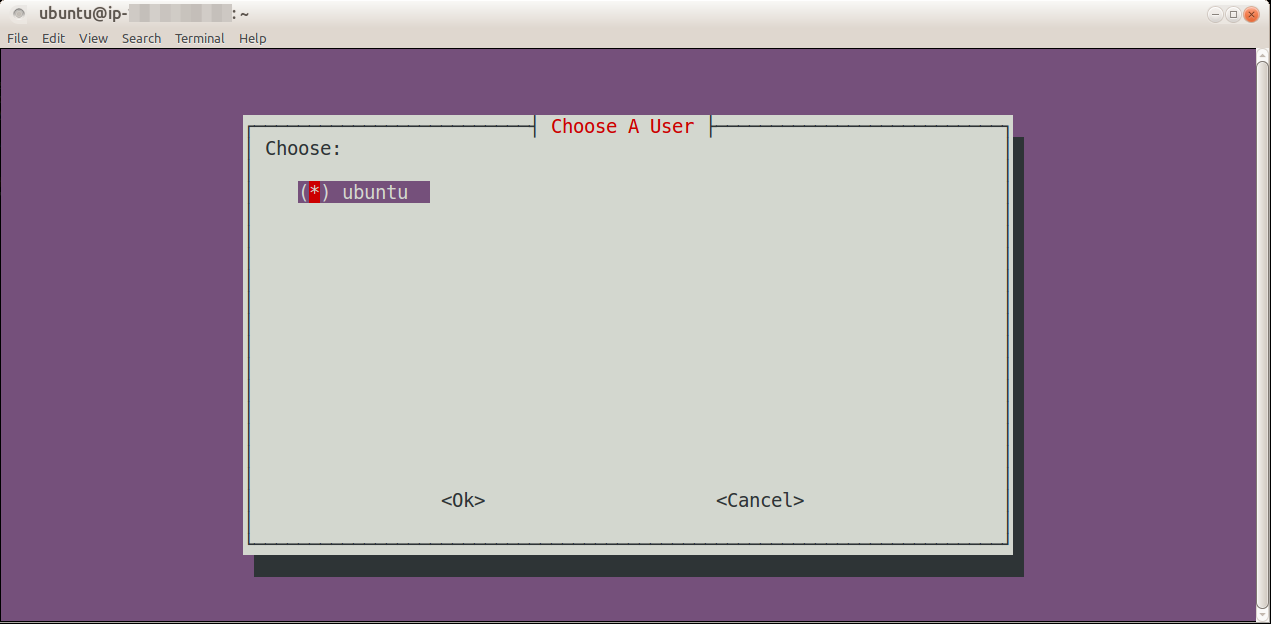
Choose the default ubuntu user.
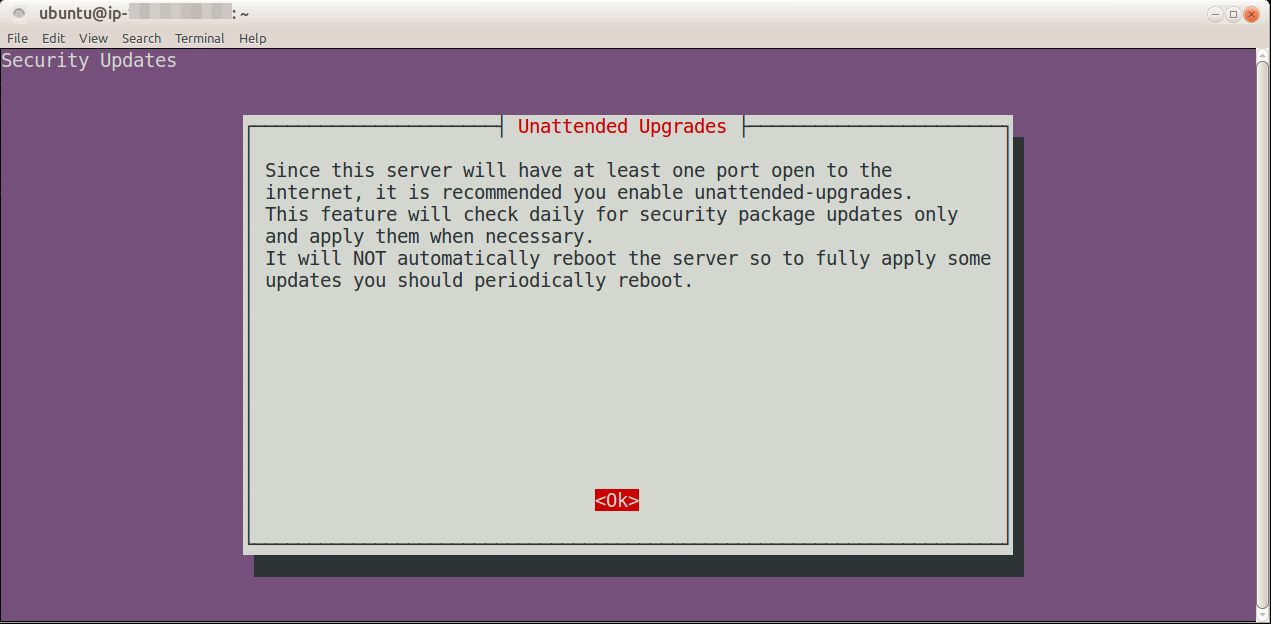
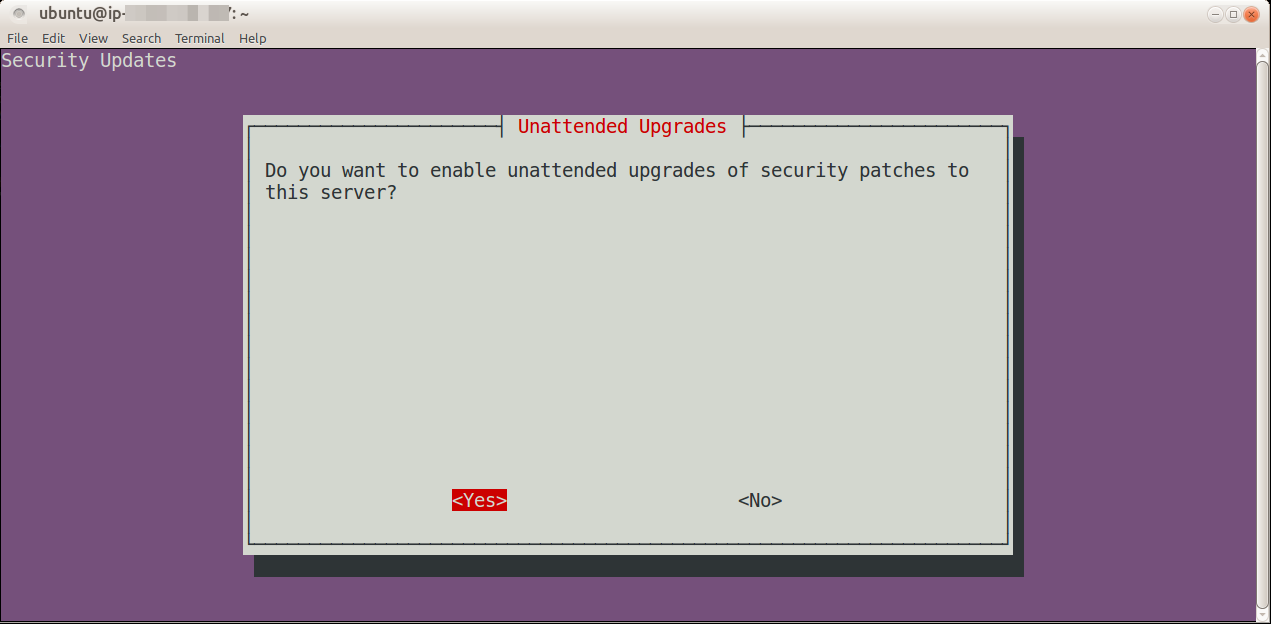
We do want to enable unattended upgrades of security patches.
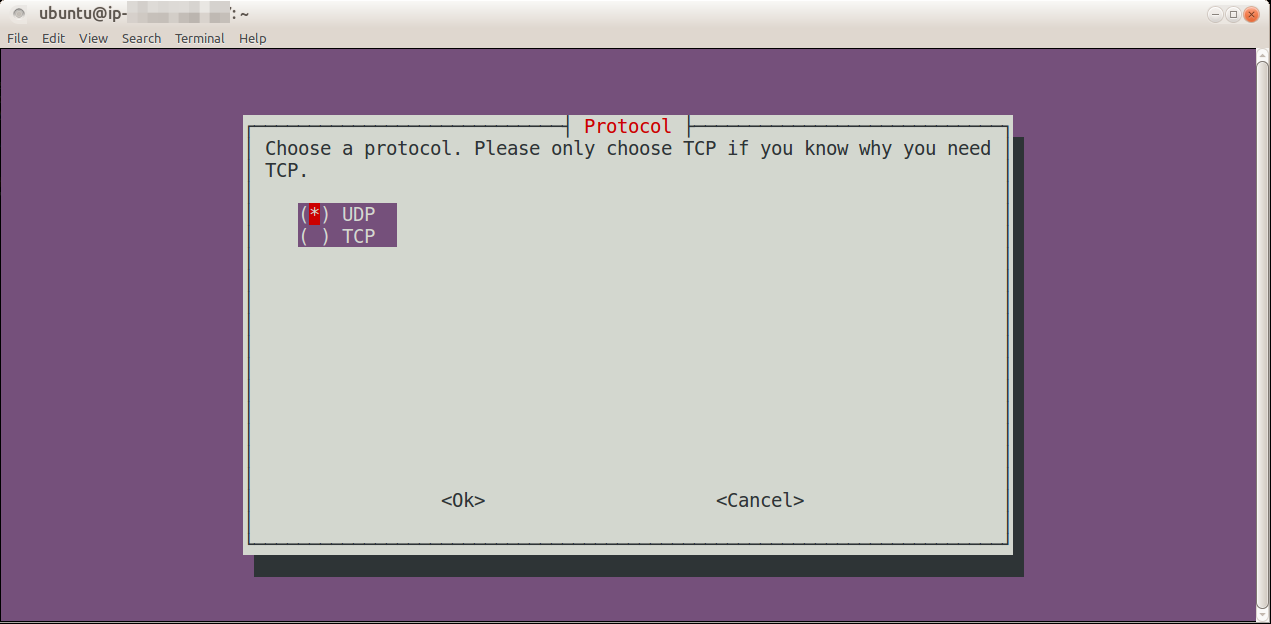
Choose UDP as the protocol to use.
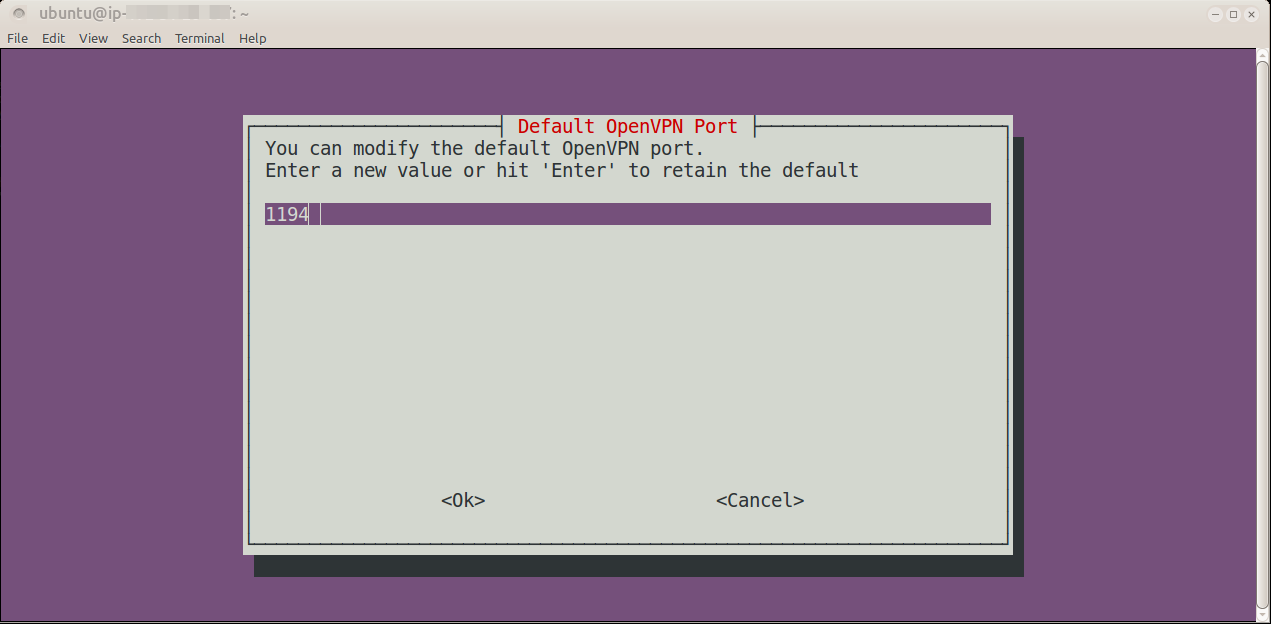
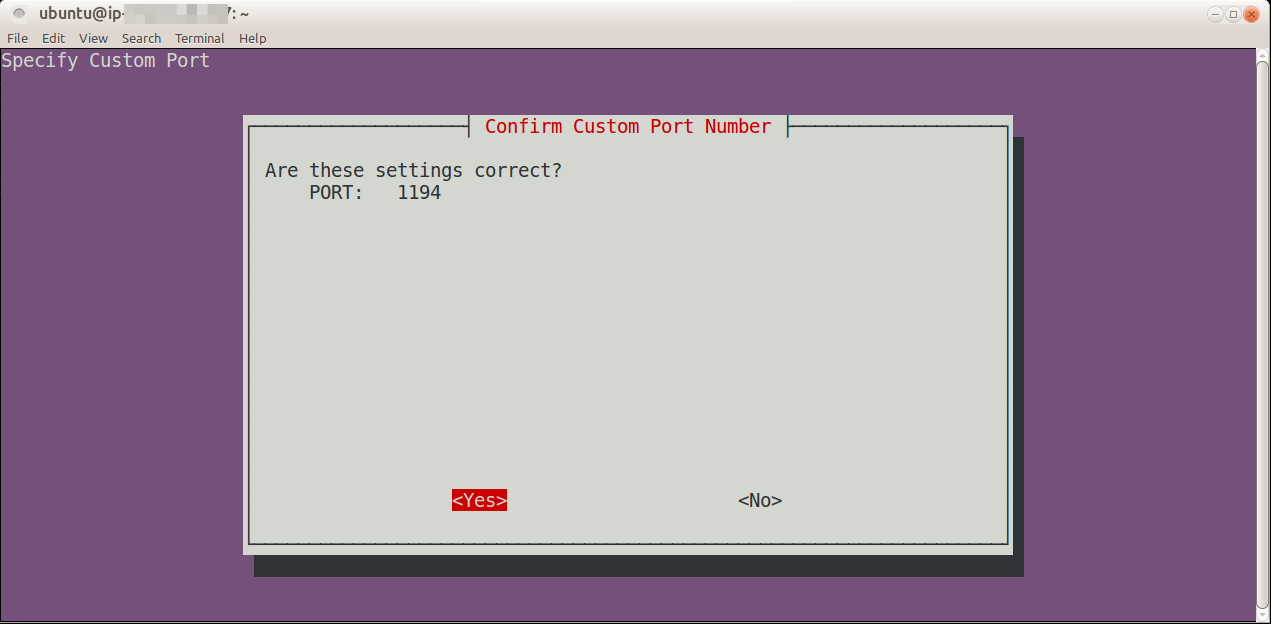
Choose the default port 1194.
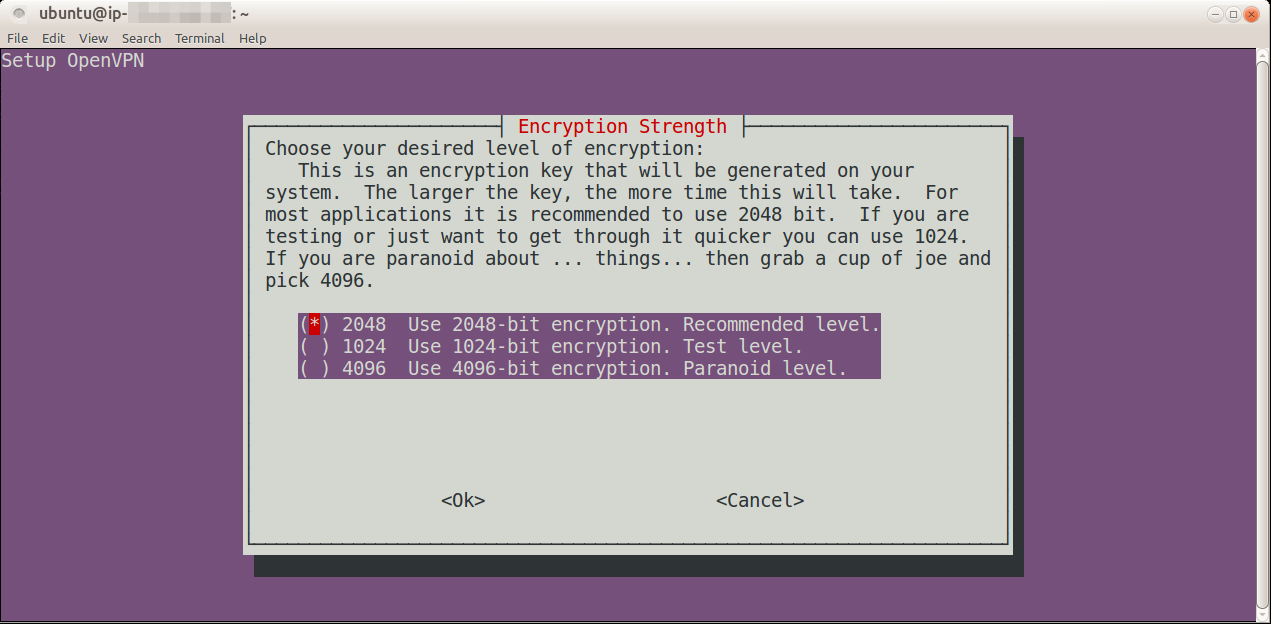
Create a 2048 bit encryption key.
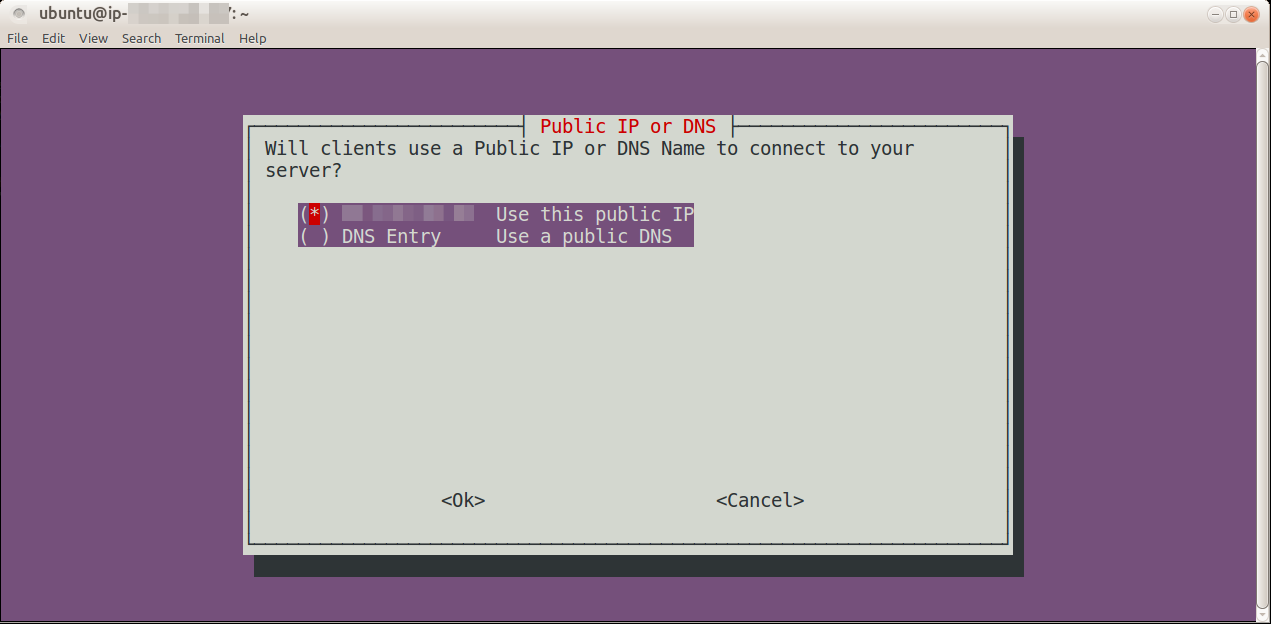
Choose to use your servers public IP address.
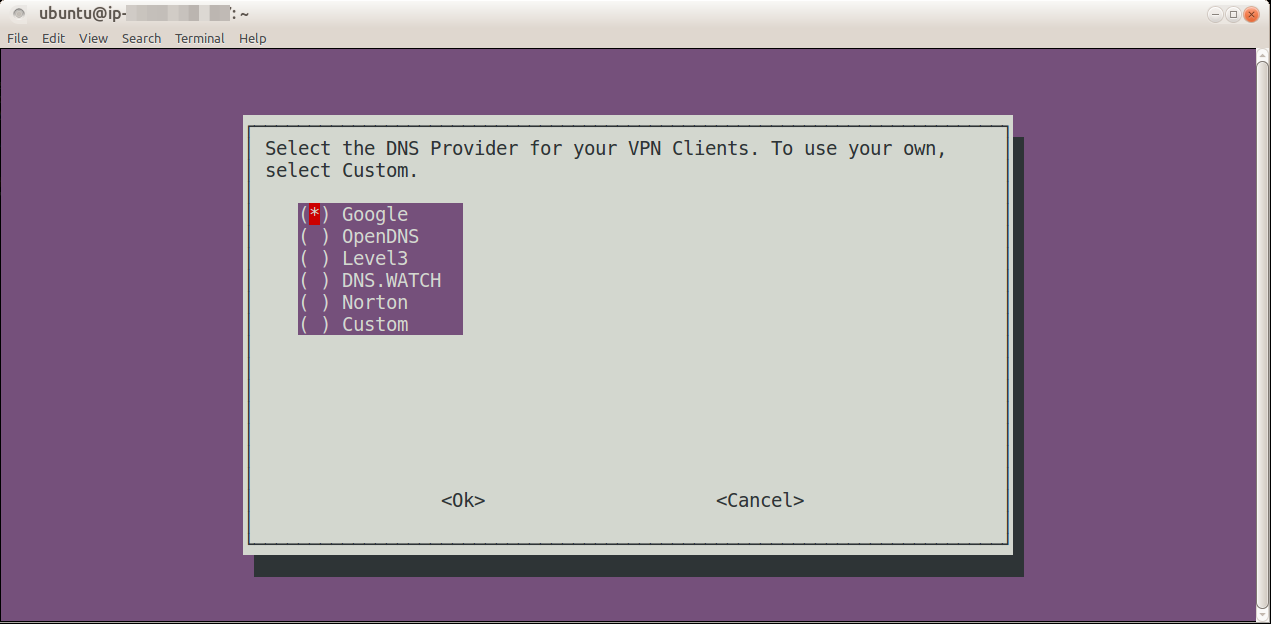
Choose whichever DNS provider you would like to use. I chose Google.
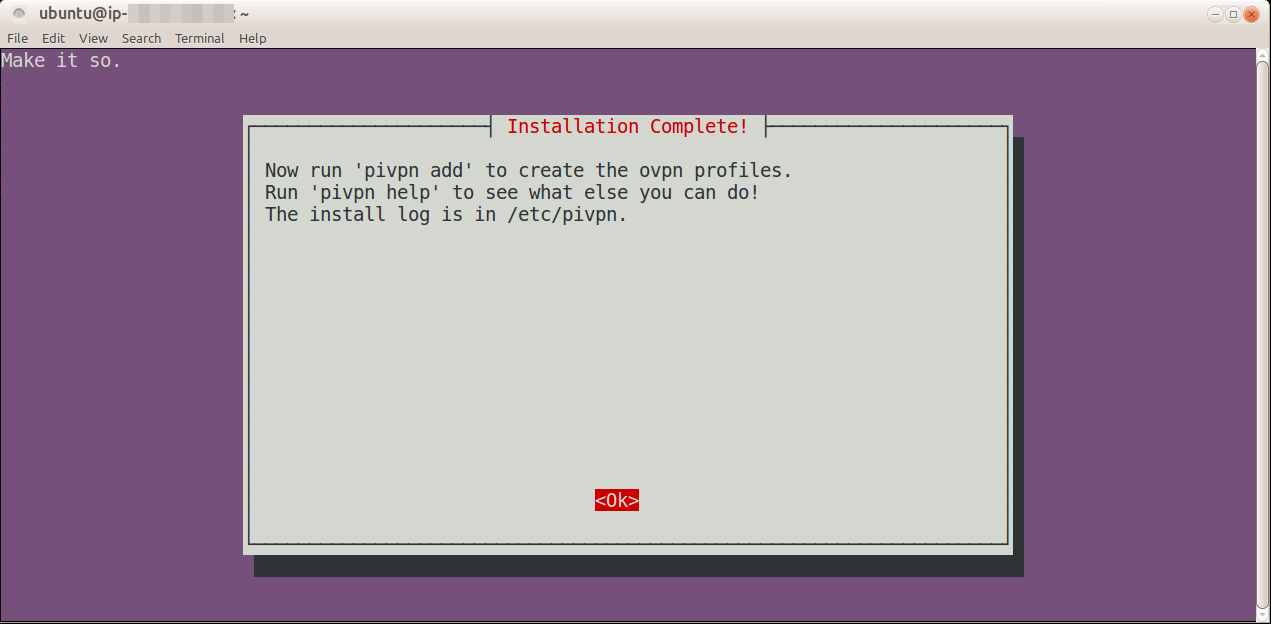
Installation is now complete 🙂
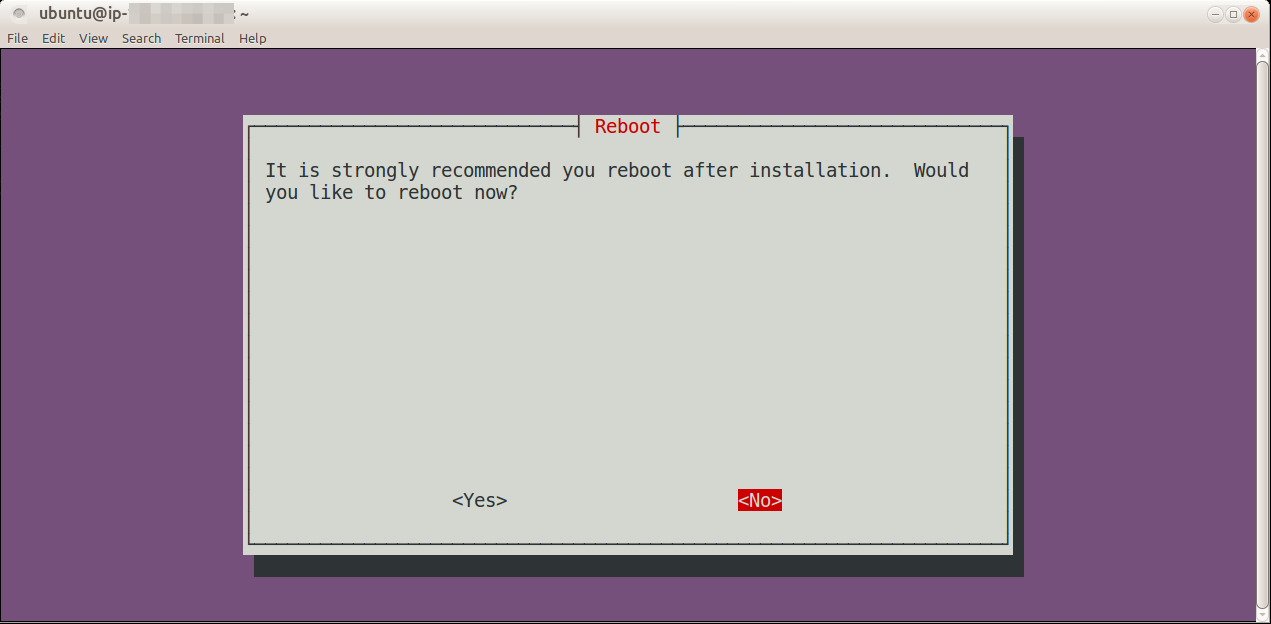
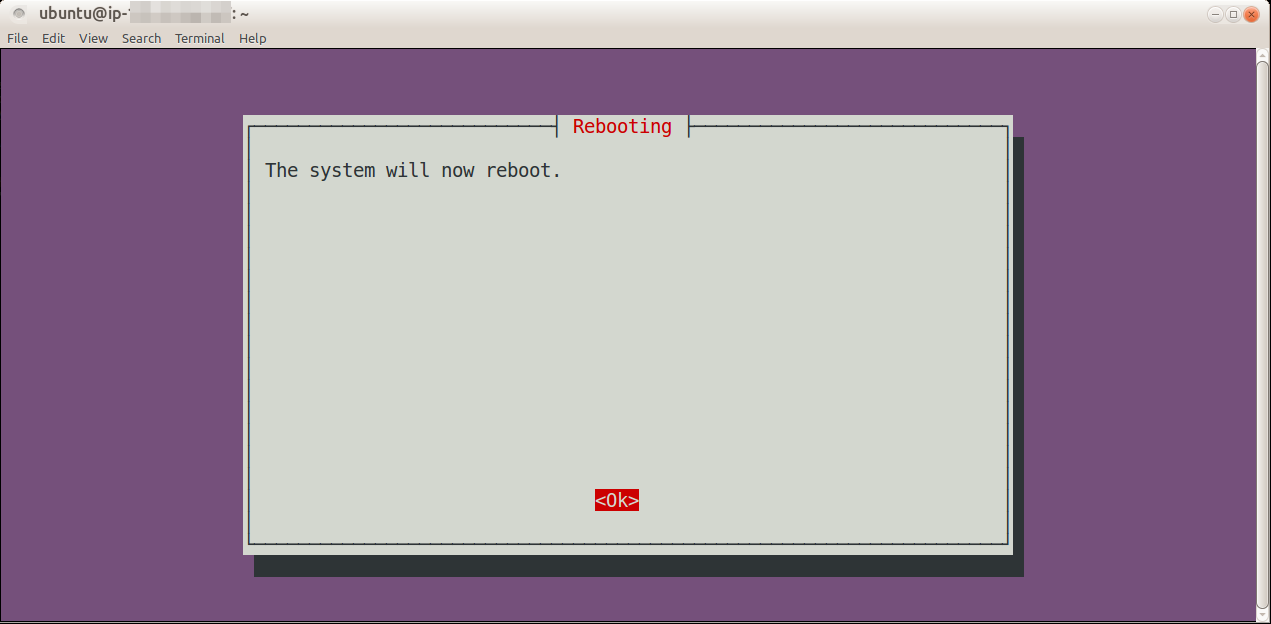
Choose to reboot the server.
Once the server has rebooted, checking the AWS dashboard for it’s status, SSH back in to the server.
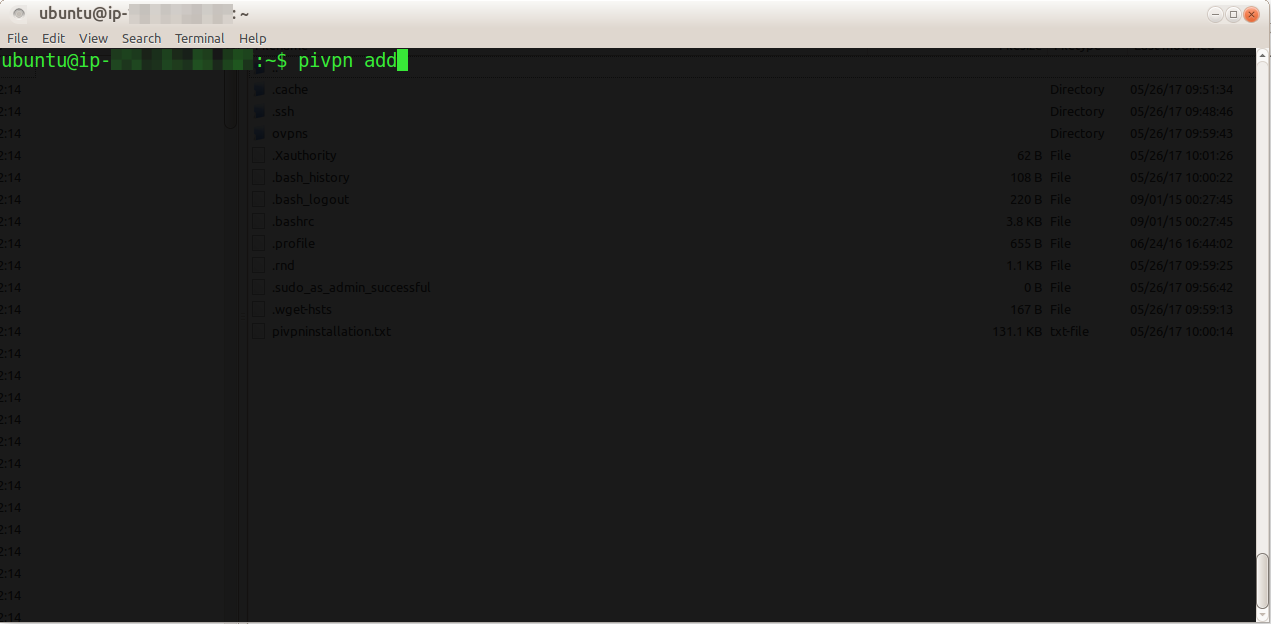
Now we need to configure a VPN profile that we can use to connect to the VPN server.
The easiest way to do this is to use the pivpn command line utility.
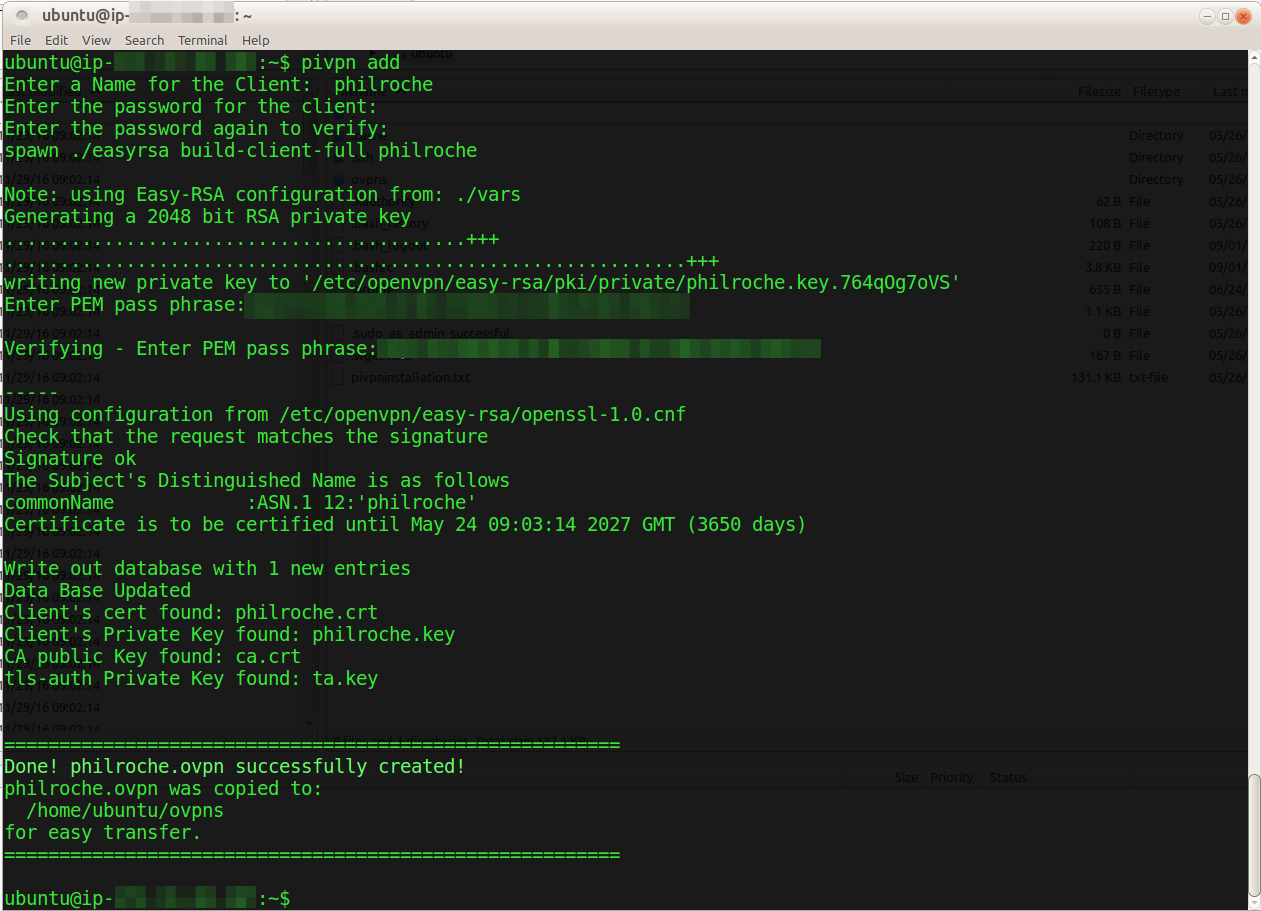
pivpn add
This will guide you through the process of creating a profile. Make sure to use a strong password and note both the profile name and the password as you will need these later.
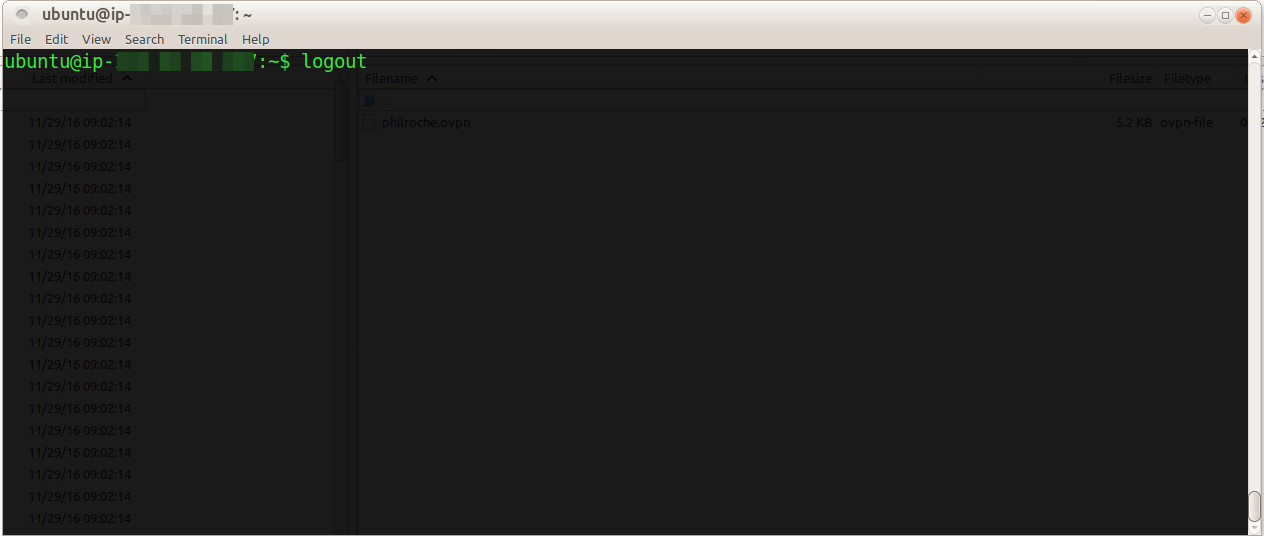
Set up is now complete so you can logout.
3. Download VPN configuration files for use locally
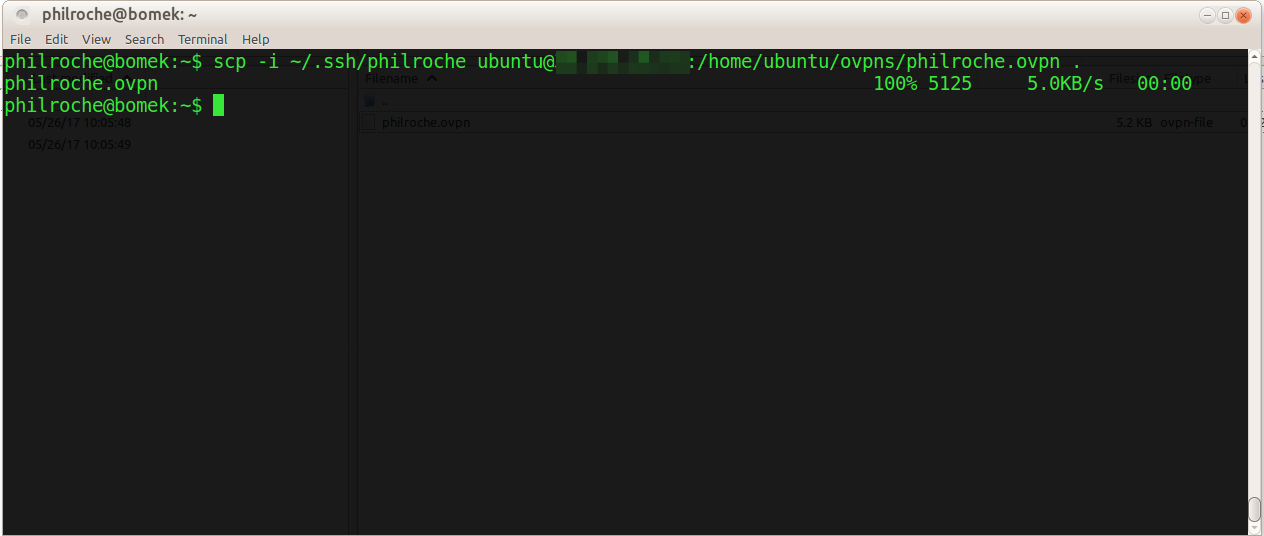
The only thing left to do is to download the profile you created from the server so that you can use it locally.
scp -i ~/.ssh/philroche ubuntu@%IPV4IPAddress%:/home/ubuntu/ovpns/%PROFILENAME%.ovpn .
substituting %IPV4IPAddress% for the IP address of your server and %PROFILENAME% with the name of the profile you created.
This will download the .ovpn file to your current directory.
Once downloaded you can import this to your VPN client software of choice.
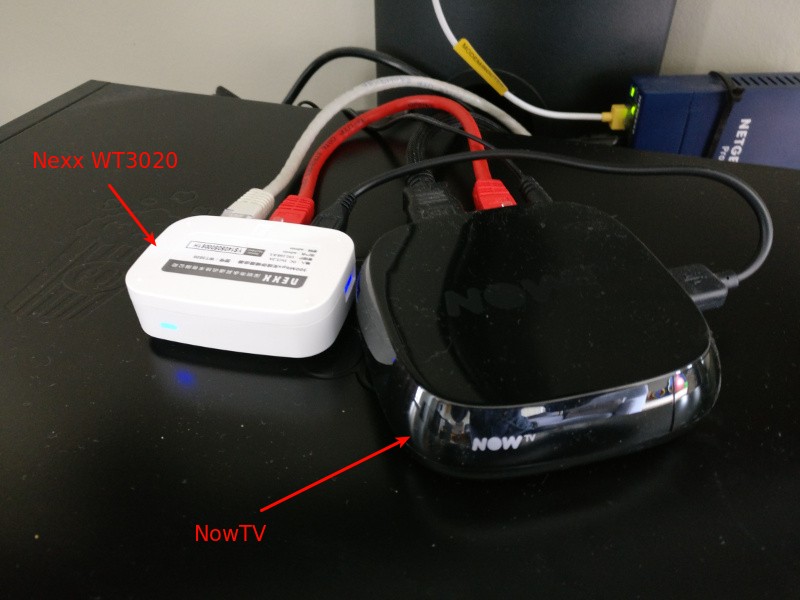
I used the profile on a small Nexx WT3020 I had with OpenWRT installed. I connect this to my NowTV box so I can continue to use NowTV UK instead of the overpriced NowTV Ireland.
I hope this guide was helpful.
