Much of the following set up is from the official Autonomo docs at but with a bit more detail and more screenshots.
- Download the latest version of Arduino IDE (1.6.8 at time of writing) from https://www.arduino.cc/en/Main/Software
- Extract archive and run the install script which will add an shortcut to the application to your main applications menu.

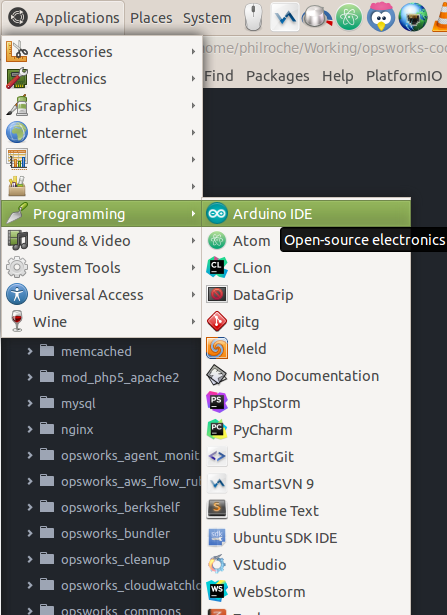
- If you are using Linux you will need to add yourself to the ‘dialout’ user group and logout and login for the change to take effect. This is so that you have permission to access the COM ports.
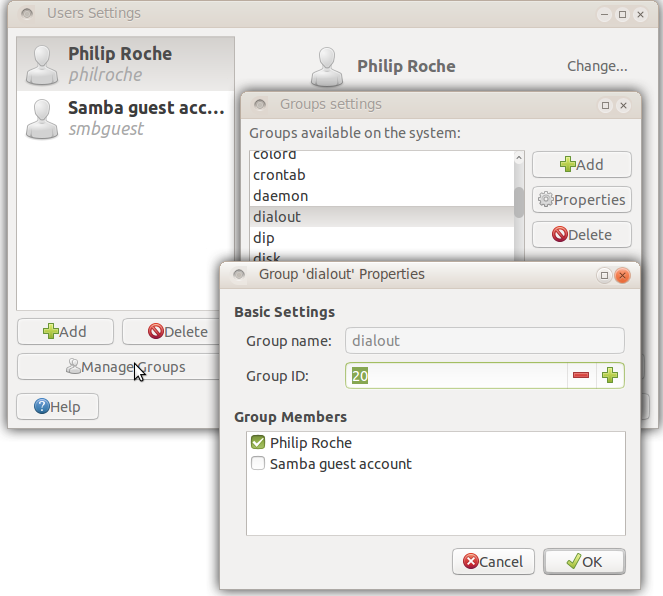
- We then need to tell the Arduino IDE about our Sodaq Autonomo board. The Autonomo’s board profile is available through the Arduino Boards Manager. In order to install the board files you will need to first add the SODAQ board manager URL (http://downloads.sodaq.net/package_sodaq_index.json) to File->Preferences->Additional Board Manager URLs:
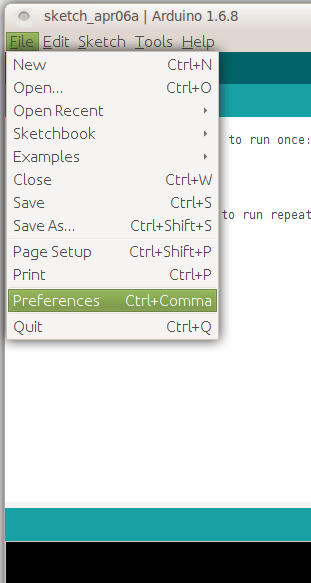

- Once this is done we need to download the board profile for the Autonomo using Arduino IDE’s board manager.
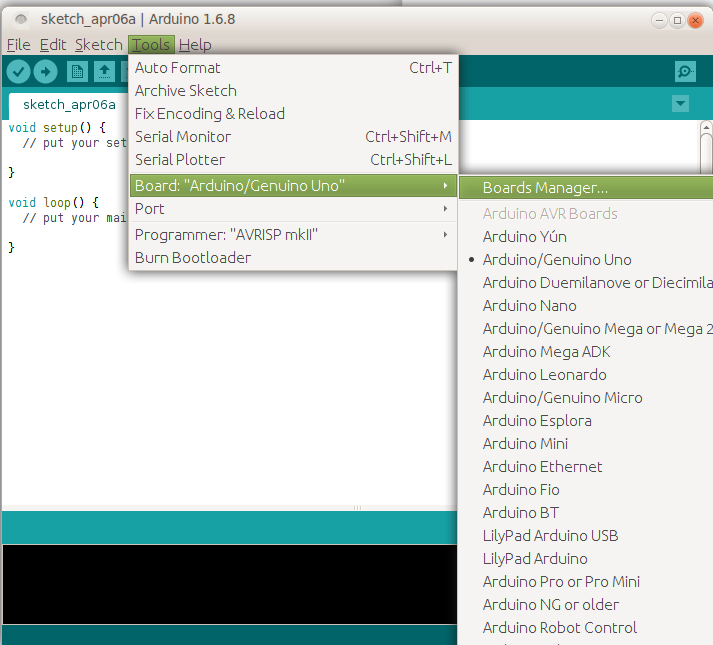
- Search for ‘sodaq’ click install for the latest Sodaq SAMD boards.

- You will now see the Autonomo board listed

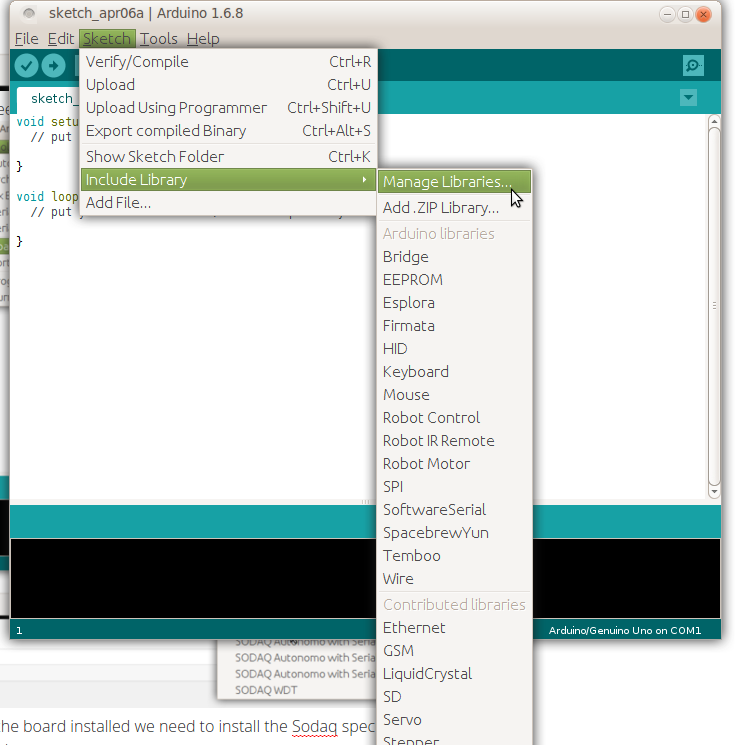
- Now we have the board installed we need to install the Sodaq specific libraries that we are likely to use. We can do this using the library manager:
- Search for ‘sodaq’ in the library manager and install the libraries you are likely to use

Your Autonomo board is now configured on Arduino IDE and you can continue development as you would with any Arduino board.